Tag Archives: development board

How to upload nodemcu firmware with esptool

In the article about the Nodemcu firmware building

Nodemcu firmware building

we created in the bin folder the  0x0000.bin and 0x100000.bin files and copied the  blank.bin and esp_init_data_default.bin files from the Espressif SDK.

According to the esptool tool documentation

esptool

the generic  command to load the firmware is the following

In our case, as we have a development kit with 4M of flash and an 9600 USB bps we have to specify the following parameters

  • mode=dio
  • size=32m

 Always according to the esptool documention, not generating the firmware with docker, we merged the two files, 0x0000.bin and 0x100000.bin,  into the nodemcu_float.bin file

 For our development kit we need to use the other two files

  • esp_init_data_default.bin: default init data.
  • blank.bin: to reset the configuration.

according to the mapping available at the following link

ESP8266 Guide

In our case we have to use (4M flash)

  • 0x3FC000 address for  esp_init_data_default.bin.
  • 0x3FE000 address for blank.bin

In the shell command window move into nodemcu-firmware and set the PATH variable

Then execute the following commands, with /dev/ttyUSB0 as COM port of the nodemcu dev kit

  • Flash erase

  • Firmware upload

In the next article we’ll upload our custom LUA code on the nodemcu dev kit.

Lua sample code

Nodemcu compilation on Linux

We’ll cover the steps to follow to create your own Nodemcu image with cross compiling on Linux.

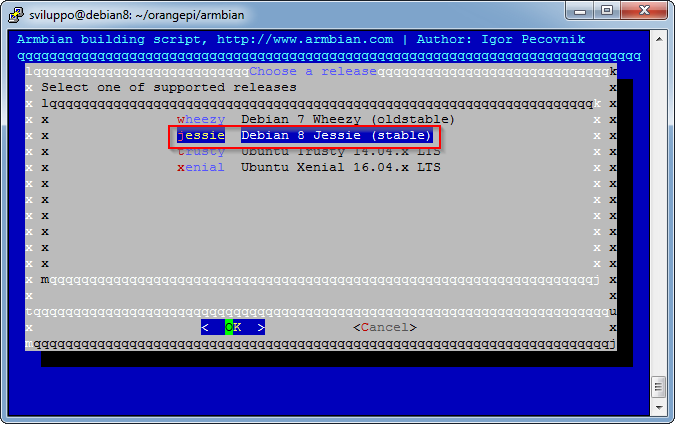
We always start from the Debian envinronment described in the previous article

Debian Envinronment

 According the following link

Cross Compilation

as first step we prepare the cross compiling envinronment.

Log on Debian with our development user (sviluppo in our case) and create an esp8266 folder in  a terminal window

We install the prerequisites

We download the open-esp-sdk repository

to proceed to its compilation

At the end of the compilation we have the following messages

So we have to include in the PATH variable the following

We can clone at this point the Nodemcu firmware github. Always from the previous terminal window run

Once placed in the esp8266 folder execute

At the end go into the nodemcu-firmware folder

Before proceeding to the creation of our first firmware we have to make  changes in the app / include / user_config.h file configuration:

  • We enable the directive for our devkit 0.9 (our devkit)

#define DEVKIT_VERSION_0_9 1     // define this only if you use NodeMCU devkit v0.9

  • We change the USB communication speed (speed for our devkit)

//#define BIT_RATE_DEFAULT BIT_RATE_115200
#define BIT_RATE_DEFAULT BIT_RATE_9600

  • We change the flash size to 4M (flash of our nodemcu devkit)

#define FLASH_4M
// #define FLASH_8M
// #define FLASH_16M
//#define FLASH_AUTOSIZE

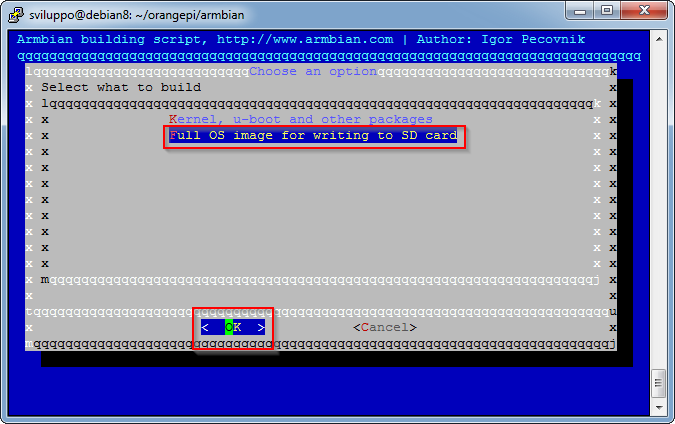
We save the file and proceed to the creation of the firmware with the command

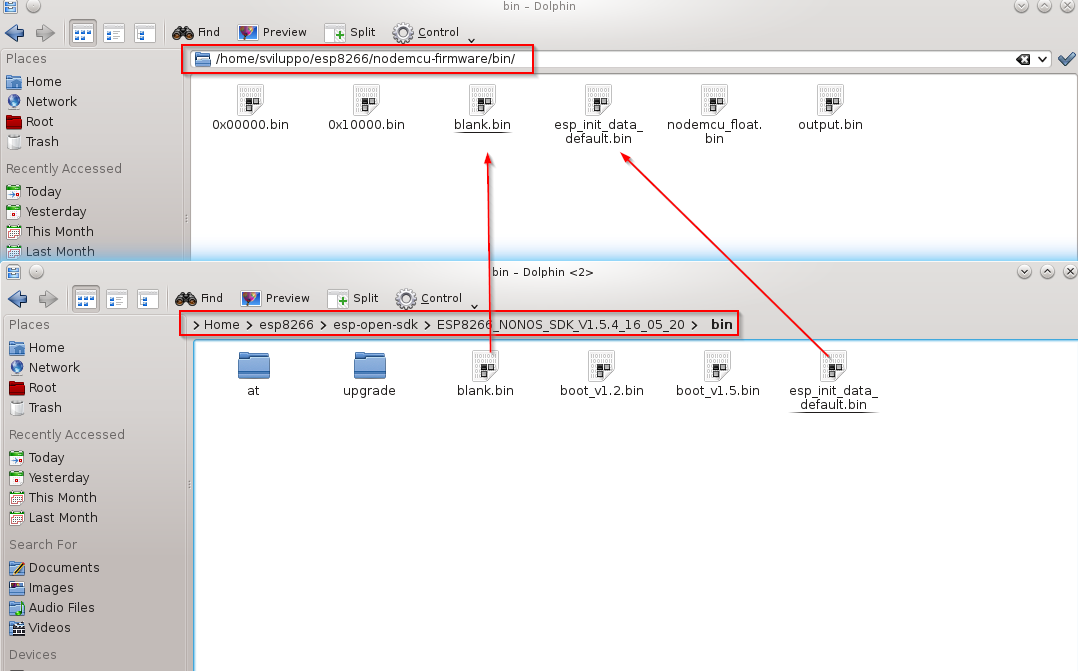
At the end under the bin folder

we’ll find two files: 0x00000.bin and 0x100000.bin. We generate a single file nodemcu_float.bin with the command

At this point we have to enable the sviluppo user to use the usb port with the command

Debian has no need for additional USB drivers. In the presence of virtual machine enable the USB device.

Access to the SDK downloaded and compiled previously; in the bin folder copy the files

  • blank.bin
  • esp_init_data_default.bin

into the folder we generated the 0x00000.bin and 0x100000.bin files

binDefault
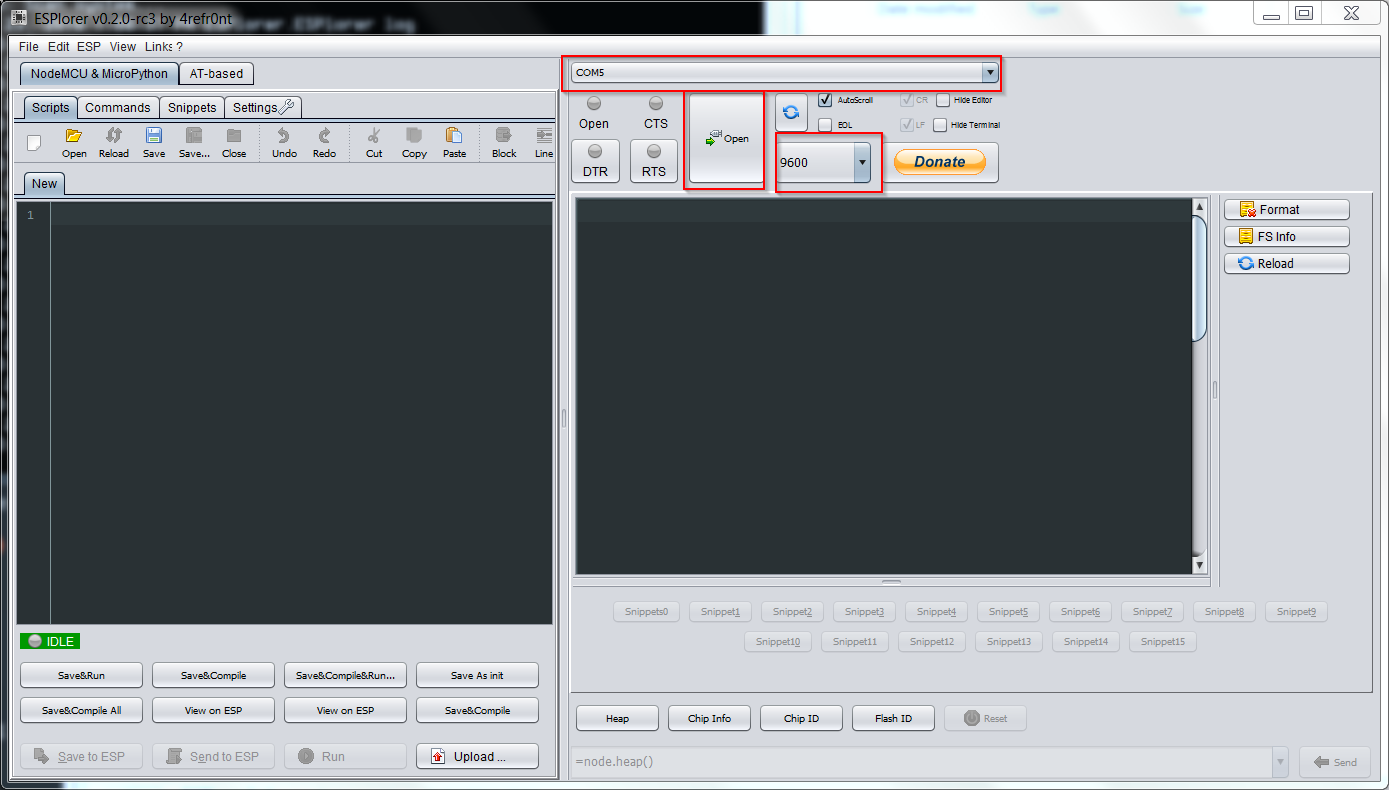
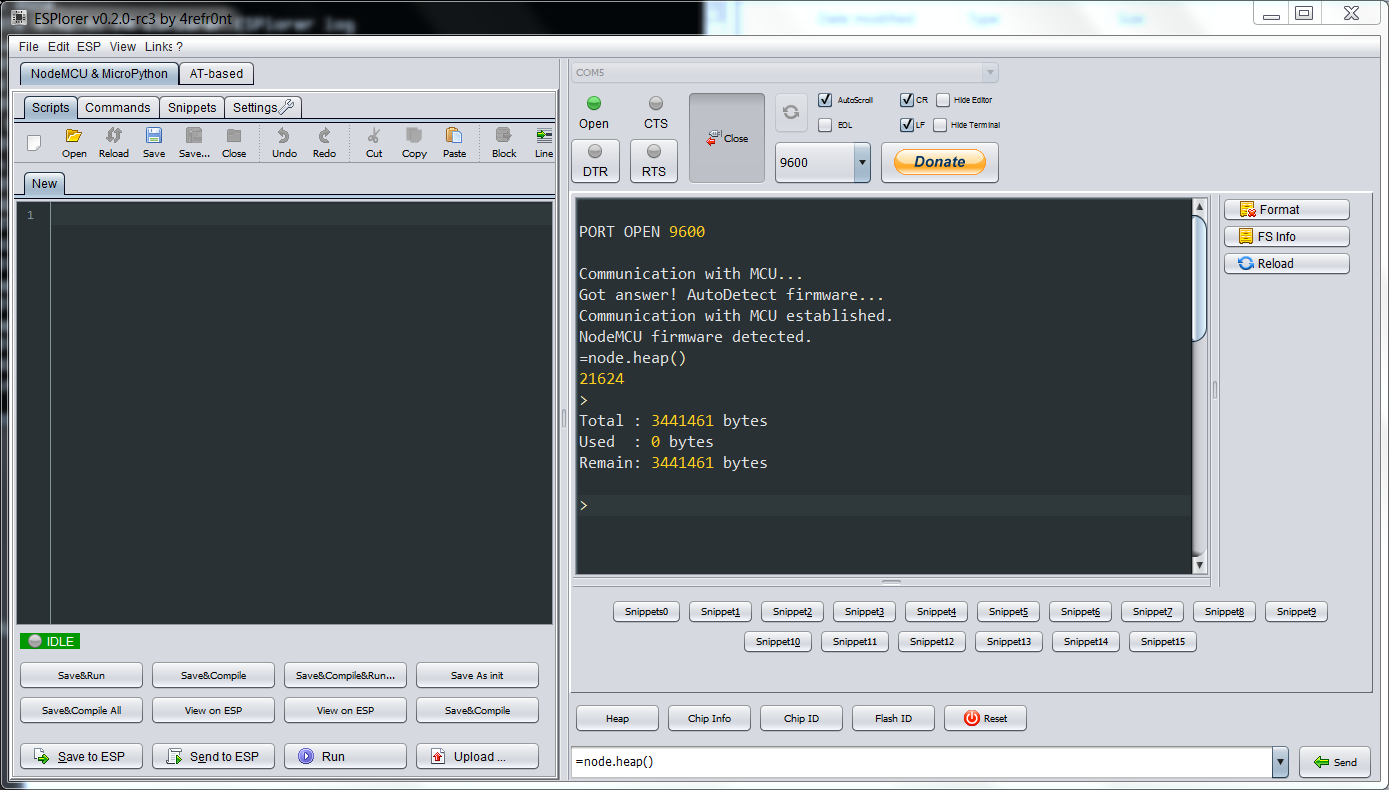
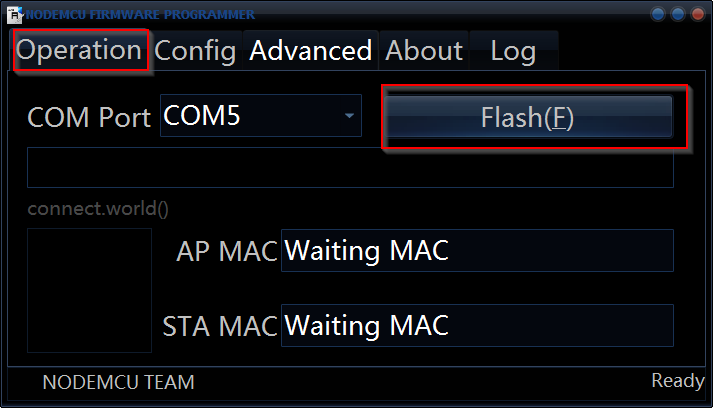
At this point we are able to flash the firmware on the device using the esptool. In the next article we’ll descrive how to load the firmware

Nodemcu firmware upload with esptool

Uploading LUA code on ESP8266

After flashing the nodemcu firmware

Flashing the firmware

you can upload your own LUA script code on your device. To do this there are several tools

Uploading LUA code

In this article we’ll treat  ESPlorer

ESPlorer

It ‘a java application available for Windows, Linux and OSX. As a prerequisite requires the presence of Java SE ver. 7 or higher.

Download the tool from the link listed below to a folder

ESPlorer Download

To run it excecute from command prompt

or we can use a script in dos or unix (ESPlorer.bat or ESPlorer.sh).

At this point we plug the Nodemcu devkit to the PC and set the communication parameters and the speed of the COM port.

In Windows we have the following screen

ESPlorer

You can press Open, which allows access to the device.

ESPlorerConnesso

You can proceed at this point to the creation of your own code in LUA script and upload it on the ESP8266; you can use the various modules available in the  firmware according to the documentation

Nodemcu API

In the next article we’ll describe how to compile your personalized firmware in Linux

Nodemcu compilation

Flashing the firmware using Nodemcu Flasher

In the previous article we examined the different ways to flash the firmware

Flashing Nodemcu firmware

Now we describe how to proceed in Windows.

Looking at the Nodemcu firmware github

Nodemcu github

we find the followng application for Windows

 Nodemcu flasher

 We download the version compatible with our Windows operating system (32 or 64 bit)

First operation is to install the USB-Serial chip drivers of our Nodemcu Devkit, as specified in previous article. We have a devkit Nodemcu ver. 0.9, so we have to install the CH340G drivers

CH340G Drivers

After the drivers installation we can download the Nodemcu flasher in a folder and plug the  USB-Micro Usb cable between the pc and the devkit. Our COM port should be visible in the Windows device manager in the COM  devices list

PortaCom

In our case it is available on the COM port 5.

The steps to follow are the following:

  • Run Nodemcu Flasher and choose the COM5 port.

NodemcuProg

  • In Config select  INTERNAL://NODEMCU  with address 0x00000.

NodemcuProgConfig

  •  In Advanced we have the following parameters
    • Baudate: 9600 as specified in our devkit.
    • Flash size: 4MByte. Flash size of our devkit.
    • Flash Speed: 40MHz. The default speed.
    • SPI Mode: DIO is the default for 4Mb flash size.

NodemcuProgAdvanced

  • Proceed with the flash of the firmware pressing the FLASH button

NodemcuProgFlash

  • The application shows a progress bar of the operation

NodemcuProgProgress

At the end you can close the window and make sure everything is working properly using a LUA script uploader program, which we’ll see in the next article

Uploading LUA code


How to flash the Nodemcu firmware

In previous article we described the ESP8266 wifi module integrate into the Nodemcu development kit

ESP8266 WiFi Module

Here we look at how to load the firmware on the device.

First step is to assess the nodemcu development kit model we are working with. In our case we’ll perform the various operations with a development board Nodemcu V0.9. The USB-Serial chipset in this case is the CH340G

The drivers for this chipset can be downloaded directly from github of nodemcu

USB-Serial Drivers

To load the firmware, you can use the methods described in the Nodemcu site

Flashing Firmware

Basically there are two main methods:

  • Flash through the Windows Nodemcu Flasher tool

Nodemcu Flasher

  • Flash via a utility in Python to use in Linux, OSX or Windows

esptool

The Nodemcu flasher tool allows you to load a default firmware on the card  intuitively and quickly.

As can be seen from the above documentation of the  devkit you do not need to take any action on the pin GPI0 ESP to put the devive in flash mode; the flash operation and execution start automatically.

In the next article we’ll flash the firmware using the Nodemcu Flasher tool

Flashing the firmware with Nodemcu Flasher

Nodemcu Firmware

As discussed in previous article

ESP8266 WiFi Module

we’ll work on the ESP8266 SOC using the Nodemcu firmware

Firmware Nodemcu

Nodemcu is, to date at rev.  1.5.4.1, based on LUA 5.1.4. It is based upon Expressif SDK NONOS

Expressif SDK NONOS

It uses the spiffs filesystem

spiffs filesystem

We can get the firmware, as specified at the link

Nodemcu building

with different methods

  • Using a cloud service, specifying the additional modules if required

Nodemcu Custom Build

  • Using a Docker system

Docker Nodemcu Build

  •  Using cross compilation under a Linux system

We’ll descrive how to install the cross compilation envinronment under our Debian machine described in previous post.

The easiest way to get a default firmware is to use the Nodemcu Flasher tool.

In the next article we’ll treat how to load the firmware using various tools, among which the Nodemcu Flasher tool

How to flash the Nodemcu firmware

ESP8266 Wifi Module

In this article we describe briefly the ESP8266 wifi chip from Espressif

ESP8266

This lower power SOC  contains a 32 bit RISC MCU and a wifi module. At the Espressif web site we can find the detailed informations about the ESP8266

ESP8266 Resources

The device datasheet is available in the following pdf document

ESP8266 Datasheet

The ESP8266 modules are available individually or in a development platform; the last system simplifies its usage as the development kit contains all the hardware to use rapidly the soc device; we are already ready to load the firmware and use the device.

On internet various web sites describe home automation or iot projects using this soc.

A reference site for the ESP8266 is

ESP8266 Forum

In the forum we can find the various systems utilized to develop applications for the ESP8266. The most relevant tools are

  • Arduino Ide

Arduino IDE

ESP8266 Arduino github

  • Espressif SDK

SDK Forum

ESP8266 SDK

  • PlatformIO

PlatformIO

  • Nodemcu

Nodemcu at esp8266.com forum

Nodemcu

Nodemcu github

We can buy the ESP8266 module from various internet online websites, for example ebay, as a single module

ESP8266 on ebay

or as a development kit

ESP8266 Development Kit

Different ESP8266  AI-Thinker modules are available

AI-Thinker

We’ll use the Nodemcu development kit. This kit contains the AI-Thinker ESP-12/ESP-12E modules. In the ebay search we have as results  ESP8266 ESP-01 modules too and development kits from other vendors.

On the Nodemcu github we can find the development kits we’ll use afterward. There are two versions

  • Nodemcu V1 (ESP-12E) development kit

Nodemcu devkit V1.0

  • Nodemcu  V0.9 (ESP-12) development kit

Nodemcu devkit V0.9

At the following link we can find the description of the different AI-Thinker modules and as obtain informations about the flash inside the device

ESP8266 Modules

From the Nodemcu github

Nodemcu Devkit

the pins available in the devkit 1.0  are the following

In next articles we’ll describe how to obtain the Nodemcu firmware, how to load it on the device, how to compile it and we’ll show some example using the LUA scripting language utilized by the Nodemcu firmware

Lua

with the LUA software modules available for the ESP8266

Nodemcu documentation

In the next article we’ll describe the Nodemcu firmware

Nodemcu Firmware

Building Armbian image for Orange PI PC

We treat now the bulding of the image Armbian for Orange PI PC. From the developer’s github

Armbian Github

we find the steps to do the task.

From the Armbian site

Building Armbian

the supported building envinronment is Ubuntu. In our test we use Ubuntu 16.04.1 LTS x86-64

Ubuntu

and our Debian 8.5 envinroment used for the other tasks described on this site. With Ubuntu the compile.sh script installs all the required packages to build the image.  On the Armbian web site we can find also various compilation options..

Using Debian 8.5 as host, we have to exectute some prerequisites tasks described below. In the case of issues execute the building on Ubuntu..

First we install the cross compilation envinronment in Debian

https://wiki.debian.org/CrossToolchains

We have to create the file  crosstools.list in /etc/apt/sources.list.d

Edit this file and add the line

Save the file and add the repository key using curl. We install the curl package

and add the key

Now we are ready to install the packages and architecture as listed below

At this point the procedure is the same on Ubuntu or Debian. We create a folder called armbian under orangepi folder in the home folder of the linux system; in our case the user is sviluppo

We clone the repository with the following command in a shell command window in the armbian folder

To build the image execute

When requested enter the root password and for our image select the options described below.

  • Full OS image

fullosimage

  • Orangepipc board

orangepipc

  • default kernel

defaultkernel

  • Debian stable image

debianstable

  • Image with desktop envinronment

debiande

We find the image under the folder output/images ready to be transferred on a micro sd card as described in previous article

immagine

Beaglebone development board

In this article we describe briefly the Beaglebone Black development board. What said is applicable also to its derivatives (Green, Enhanced) for most of the information

Beaglebone Black Board

From the above link  there is a comparison chart between the various models.

The card is the result of an Open Source project with all its elements distributed on site

Beaglebone Black Design Files

Below are the main features of the BeagleBone Black Rev. C (other versions differ with respect to Black).

CPUTexas Instruments Sitara AM3358BZCZ100, 1GHz, 2000 MIPS
Graphics EngineSGX530 3D, 20M Polygons/s
Memory512 MB DDR3L 800Mhz
On Board Flash4Gb, 8bit Embedded MMC
Analog Pins7
Digital Pins65 (3.3V)
PMIC (Power management integrated circuits)TPS65217C PMIC and one additional LDO (Low Dropout Regulator)
Debug20 pin JTAG CT Iopional, Serial Header
PowerMini USB,DC Jack, 5V DC via Expansion Header
Indicators1 Power, 2 Ethernet, 4 Led User controllable
USB client PortAccess to USB0, client mode via mini USB
USB Host PortAccess to USB1, socket type A, 500 mA LS/FS/HS
Serial PortAccess UART0 via Header 6 pin 3.3 V TTL
Ethernet10/100 RJ45
SD/MMC ConnectormicroSD 3.3 V
User InputReset Button, Boot Button, Power Button
Video Output16b HDMI, 1280x1024 (MAX)
AudioVia HDMI, Stereo
Supported Interfaces4x UART, 8x PWM, LCD, GPMC, MMC1, 2x SPI, 2x I2C, A/D Converter, 2xCAN Bus, 4 Timers,2 PRUs
Weight39.68 grams

From the link

Beaglebone Black Wiki

there is a complete description of all the features and sofware compatibility. The System Reference Document, available as a link in the site mentioned above, can be downloaded from the link

System Reference Beablebone Black

The card being Opensource and with many outputs and built-in controls lends itself very well to prototyping of IOT systems, Automation, Home Automation. The hardware functionality expansion can be executed by the usage of expansion cards called Capes

Beaglebone capes

The main linux distribution for the BeagleBone Black card is Debian. On the Debian distribution for BeagleBone it is also available  Cloud9

Cloud 9 Interface

that allows you to interact easily with the hardware on the BeagleBone Black. In subsequent articles we describe the installation, creation of the image and various uses of the card.

Here is the link to the software and hardware features of the card; in particular the page shows the input/outpuy pin of the BeagleBone Black

Beaglebone Black software and hardware

The card can be purchased by following the links listed on the website

Beaglebone Black Purchase

from online retailers or electronics stores.

Remote desktop setup for Armbian on Orange PI PC

To enable the remote desktop for Armbian on Orange PI PC execute the logon to the system, for example using an ssh client

loginDelete, if installed, the packages

Install the following packages

Now we are able to login on Armbian using the remote desktop. Start the remote desktop client entering the Orange PI PC IP address

Remote Desktop ConnectionExecute the login with the user created at the first boot of Armbian, for example user1

Remote Desktop_LoginWe now have the access to the XFCE desktop remotely

Remote_Desktop