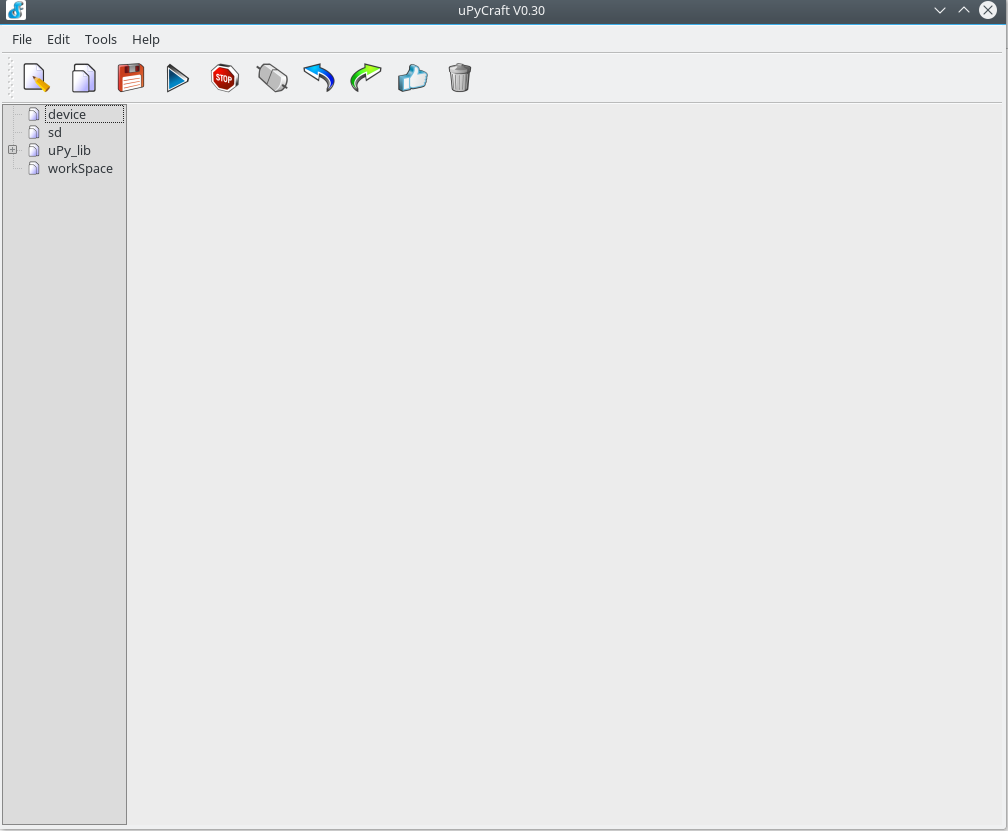
After reviewing various development tools for MicroPython in previous articles
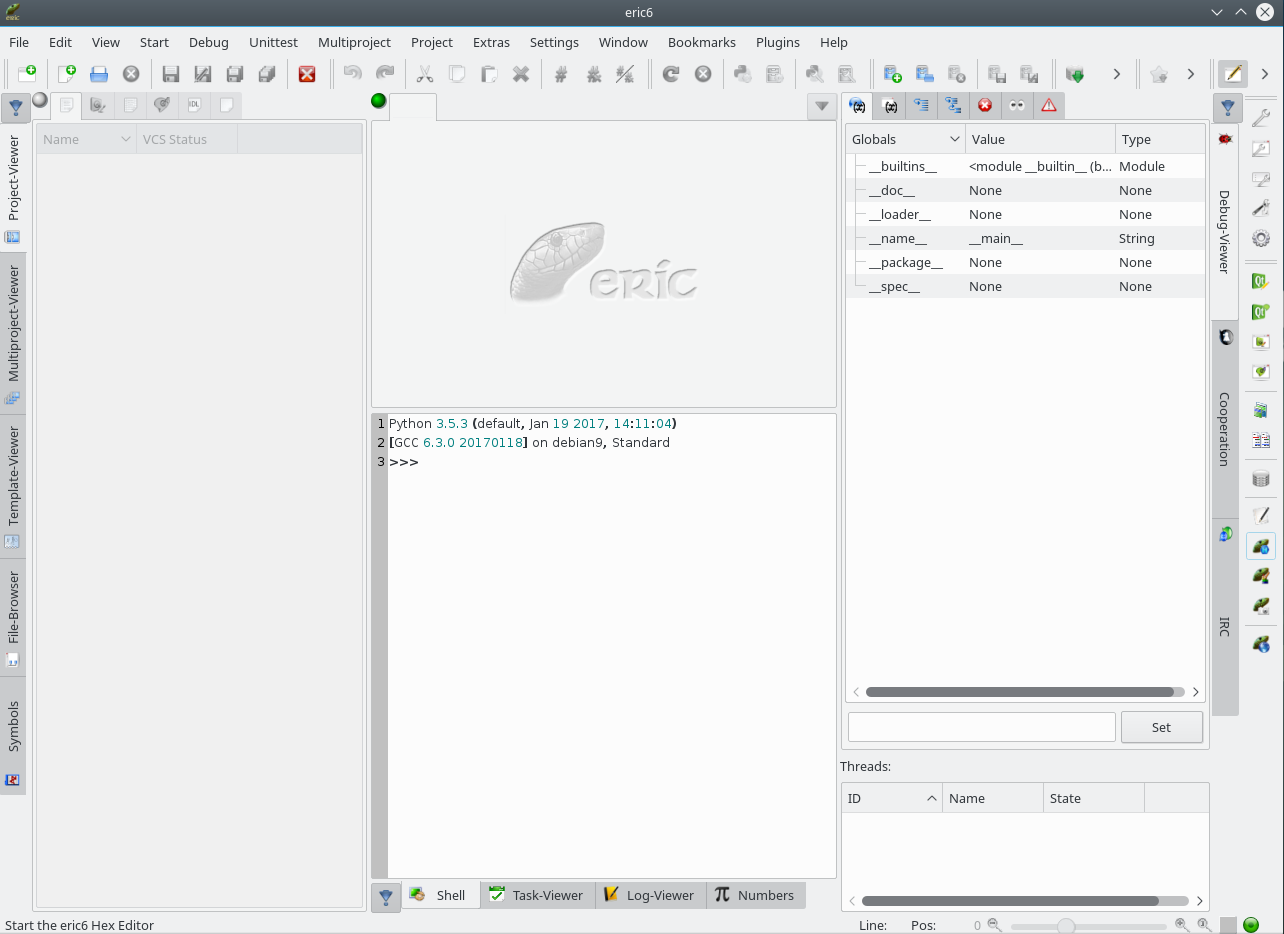
MicroPython – Development tools Ampy – Eric
in this article we briefly describe the main features of MicroPython. In particular, we examine the documentation relating to the ESP8266, but the concepts can also be extended to the other boards.
The documentation on the ESP8266 soc and MicroPython is available at the link
ESP8266 MicroPython Documentation
At the link we can find all the informations necessary to implement the code on the card and the features of MicroPython as well as the differences compared to Python.
Here are the main points for coding in MicroPython:
- MicroPython has a REPL (Read Evaluate Print Loop) console through the serial port to which the device is connected on which we can give the various MicroPython commands interactively.
- The REPL console can also be accessed via connection to the IP address of the device by enabling the WEBREPL (Web Browser Interactive prompt) console
importing the webrepl package, enabling it and starting it at each device restart. To access the configured device, we can use the link
or locally cloning it from github
|
1 |
git clone https://github.com/micropython/webrepl |
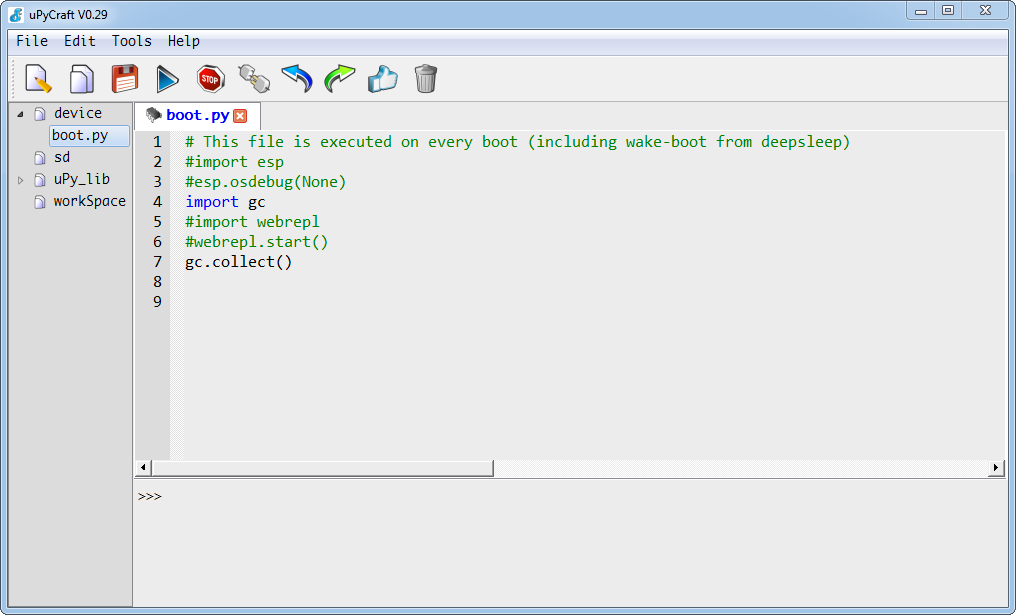
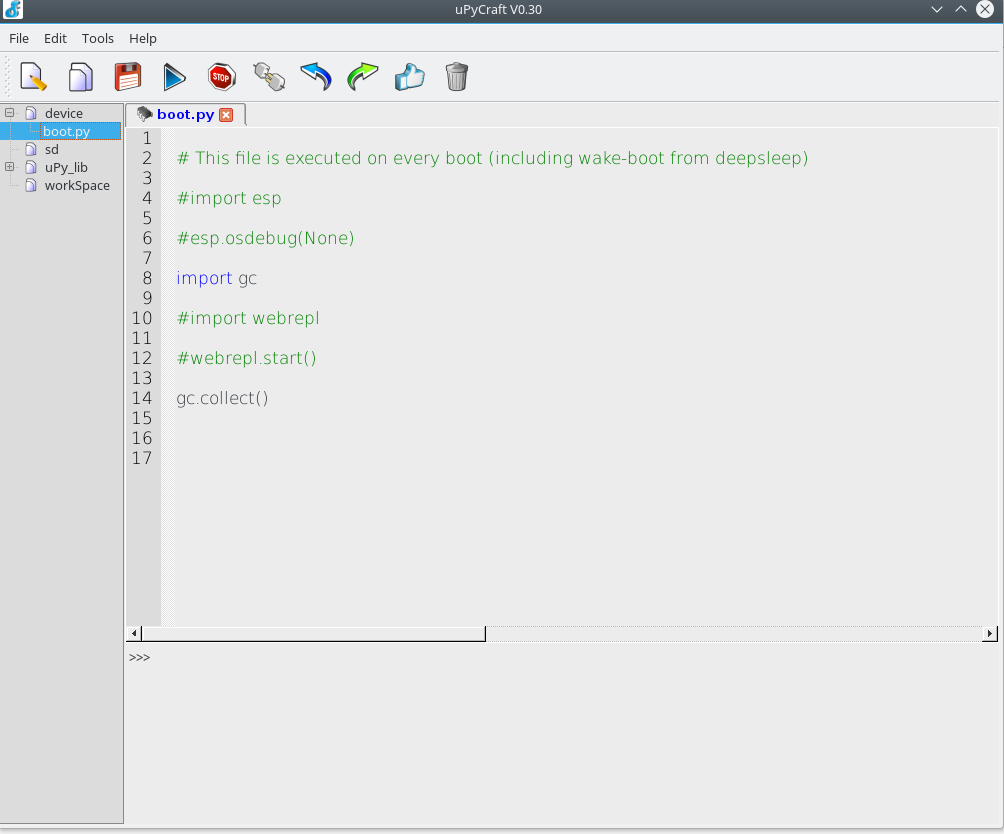
- At the start of the device the system runs boot.py and after main.py.
- The MicroPython libraries are available on the github at the link
- Additional packages
The additional modules can be downloaded from the link of the libraries presented above or downloaded with the upip utility (Package Manager) from the REPL console if available in the Python Package Index (PyPI) repository
as described below
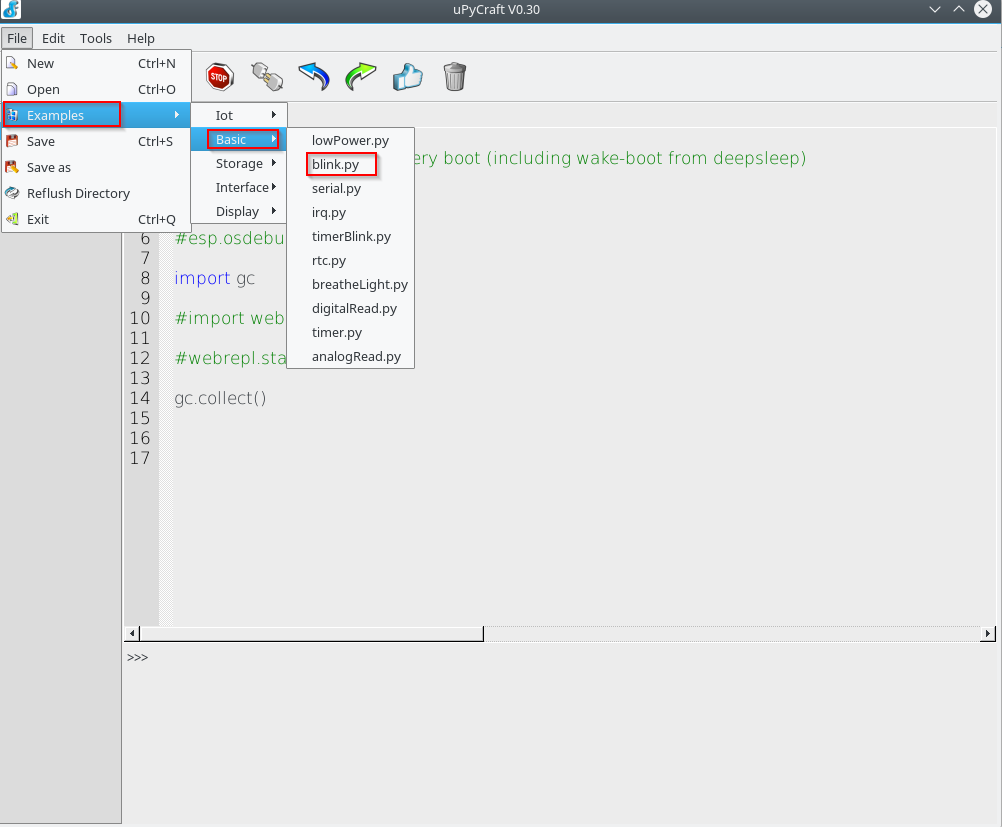
Below is a simple example that connects to the router and allows us to access the MicroPython console with the browser and WEBREPL.
- boot.py code
|
1 2 3 4 5 6 7 8 9 10 11 12 13 14 15 16 17 18 19 20 21 22 23 24 25 26 27 28 29 |
#This file is executed on every boot (including wake-boot from deepsleep) import esp #esp.osdebug(None) #Connects to the wifi AP providing a hostname, AP Name and passord def do_connect(): import network sta_if = network.WLAN(network.STA_IF) if not sta_if.isconnected(): print('connecting to network...') sta_if.active(True) #Sets the device hostname sta_if.config(dhcp_hostname='ESP_TEST') print(sta_if.config('dhcp_hostname')) #CHANGE THE VALUES TO YOUR ACCESSPOINT NAME AND PASSWORD sta_if.connect('ACCESSPOINT', 'PASSWORDACCESSPOINT') while not sta_if.isconnected(): pass print('network config:', sta_if.ifconfig()) #Imports various modules for network, webrepl and garbage collector import gc import webrepl import network do_connect() webrepl.start() gc.collect() |
At the first access it is required to enable webrepl to be executed in the REPL console with the command
|
1 |
import webrepl_setup |
we can activate the service and the access password.
The procedure generates the webrepl_cfg.py file on the device.
After setting up and restarting, we access the web console by opening the locally cloned webrepl.html file with a browser
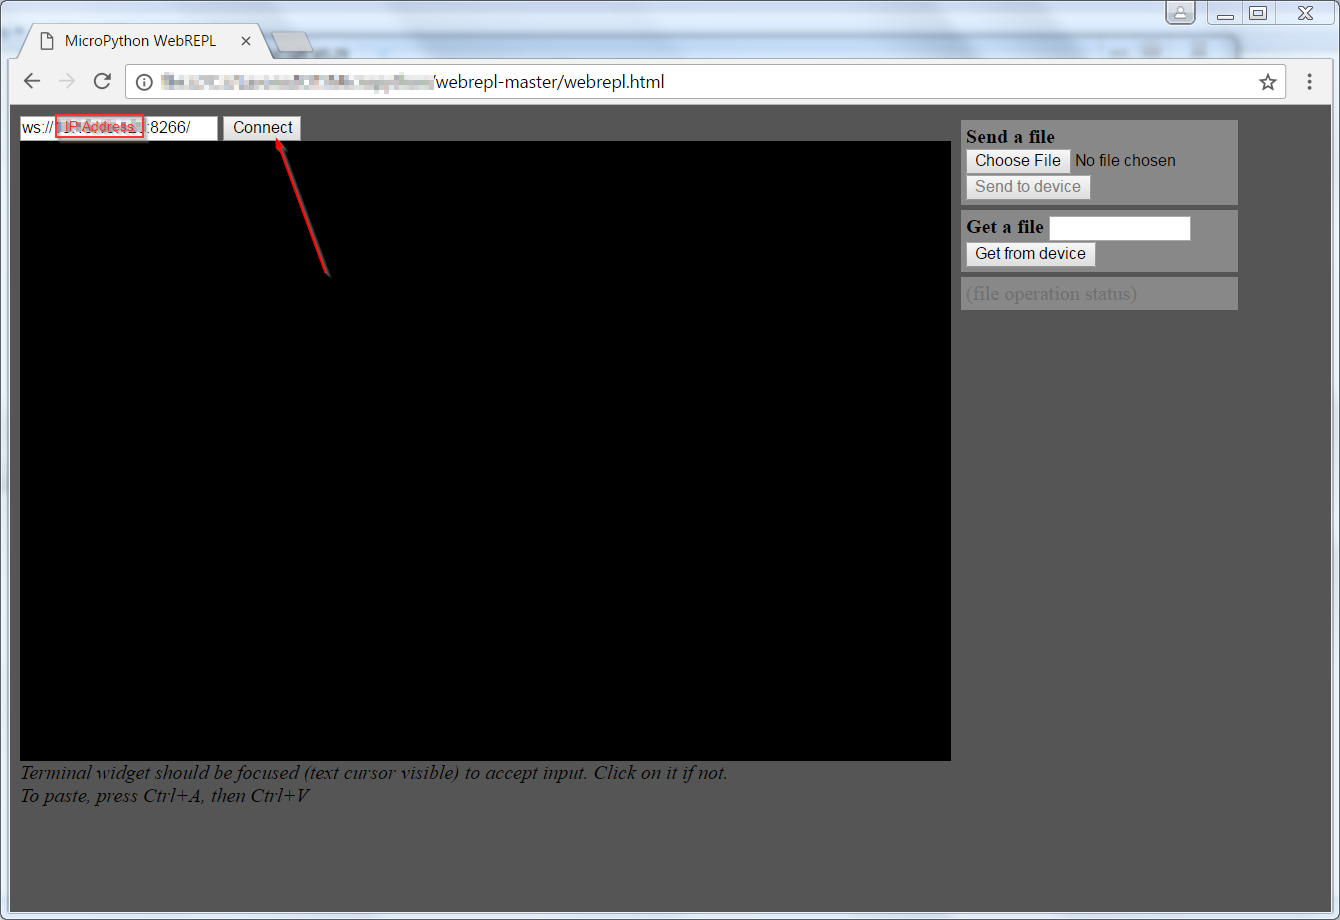 Pressing connect and after entering the password ,set in the initial setup, we access the console
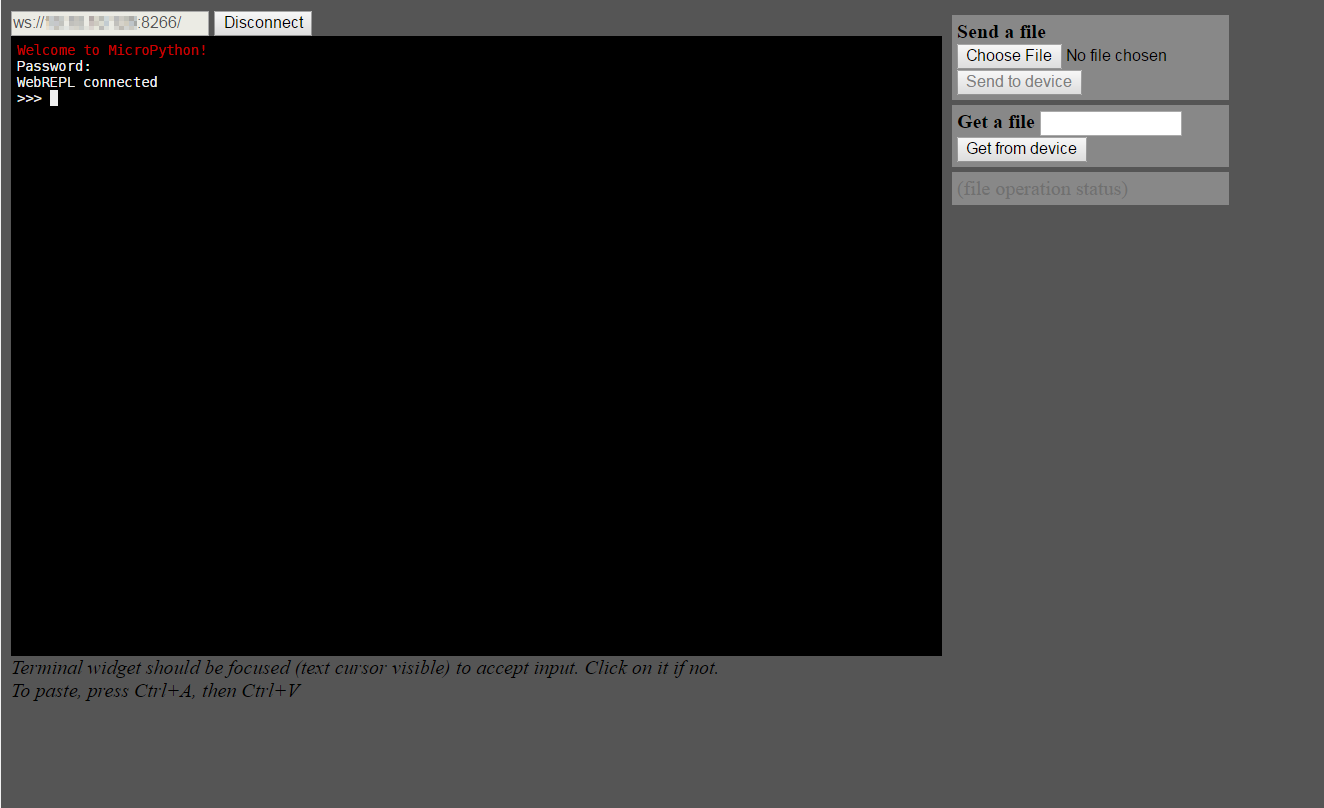 Now we install from the WEBREPL console, for example, the stat module using upip
|
1 2 |
import upip upip.install("micropython-stat") |
To paste commands execute Ctrl+A e Ctrl+V
 In this case the package was taken from the PYPI repository, unpacked and installed on the device.
We have noticed that some modules, although available on the repository, give an error during installation with upip; these modules are installed directly without using the upip utility,but by downloading the library from the site listed above and transferring the code to the device.
Here is the link of the code shown above
Another option available is to build the firmware with the required modules.
In the next article we will examine examples similar to what was done with LUA on ESP8266 in previous articles
MicroPython – Nodes examples with DHT11, Relay and MQTT