In this article we begin to treat MicroPython
an implementation of Python3
for embedded devices.
Various images are available on the MicroPython website for different devices, including the modules esp8266 and esp32
We start our tests with a Nodemcu esp8266 DevKit
We proceed to load the firmware on this card.
The Micropython site also refers how to load the firmware on the cards; these informations are available at the link
MicroPython Tutorial for esp8266
To load the firmware we always use the tool esptool, also available on the Python repository.
To be able to use it, we need to install Python3 on our development platform. Here are the steps to follow for Windows and Linux.
- Windows
For windows we must first install the Python3 environment, available at the following link
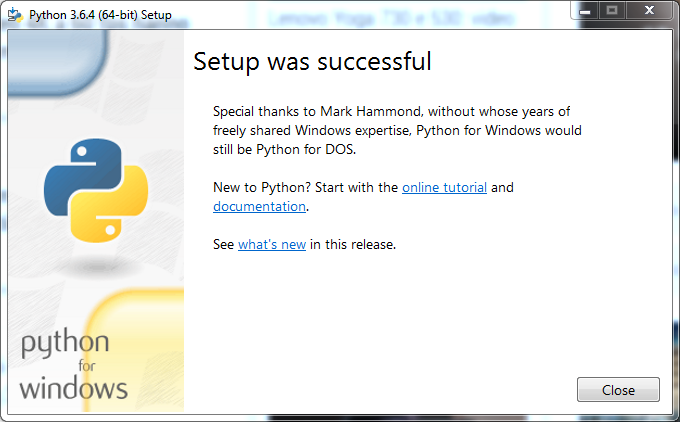
In our case, we downloaded the version 3.6.4 for 64-bit systems. We installed the package with administrative rights
 After proceeding to add Python in the Path we click “Install Now”
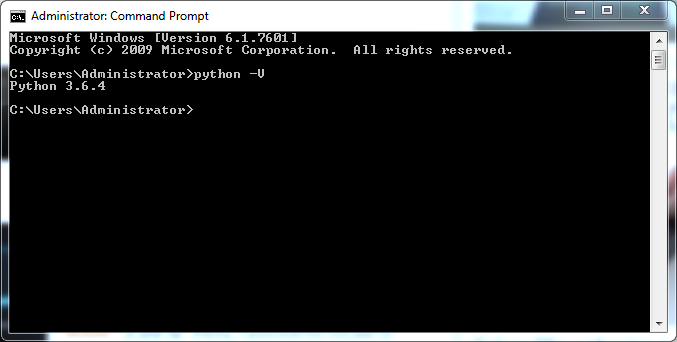
 After the installation, we open a dos command propmt and check the installed Python version
 Always from the dos command prompt we proceed to the installation of esptool with the command
|
1 |
pip install esptool |
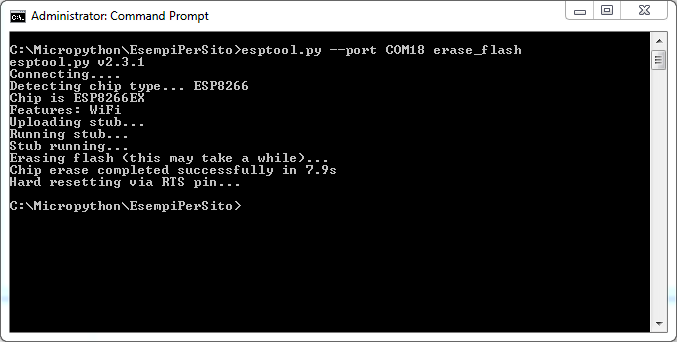
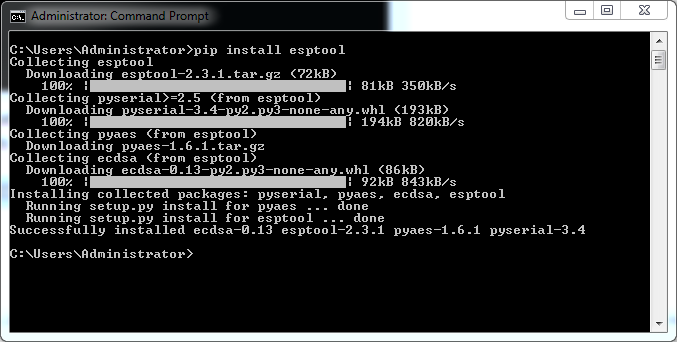 At this point we can proceed to the MicroPython firmware upload on the Nodemcu esp8266 DevKit. Of course, it is necessary to have the serial-ttl drivers installed for your DevKit model on Windows. Now go into the folder where the firmware has been downloaded and run the following commands from the dos command prompt
|
1 |
esptool.py --port COMPORT erase_flash |
|
1 |
esptool.py --port COMPORT --baud 460800 write_flash --flash_size=detect -fm=dio 0 firmware.bin |
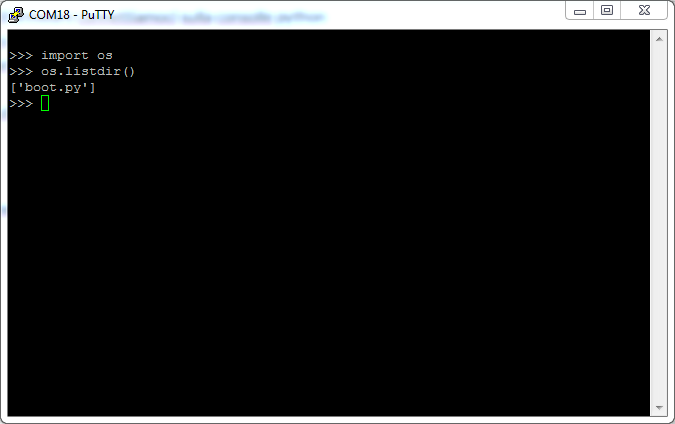
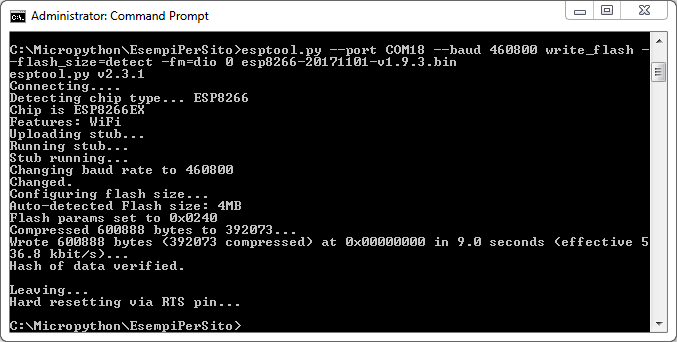 Once the firmware is installed we log on the Python console using, in our case with the nodemcu card DevKit, the same port already used to load the firmware.
On Windows we can use Putty
and set the serial connection to 115200 baud rates
- Linux
For Linux we use the Debian 9 distribution, but the procedure can be extended to other distributions. After installing Debian 9 , similar to version 8
we proceed to the installation of Python3 and esptool from a Linux shell
|
1 2 |
sudo apt-get install python3 sudo apt-get install python3-pip |
Add the user used on Debian to the dialout group
|
1 |
sudo usermod -a -G dialout USER |
In our case, using sviluppo as a user, the command is as follows
|
1 |
sudo usermod -a -G dialout sviluppo |
Let’s move on to install the Python esptool package
|
1 |
sudo pip3 install esptool |
We can then proceed with the installation of the firmware in the same way as done on Windows.
We check on which serial port the card is available (ttyUSBX)
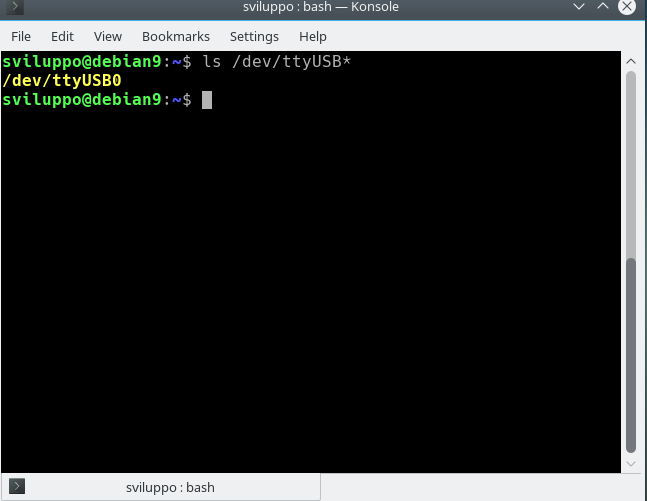 We perform a flash erase and firmware upload
|
1 |
esptool.py --port /dev/ttyUSBX erase_flash |
|
1 |
esptool.py --port /dev/ttyUSBX --baud 460800 write_flash --flash_size=detect -fm=dio 0 firmware.bin |
To log on the DevKit we use screen
|
1 |
sudo apt-get install screen |
Here is the manual of the tool
|
1 |
screen /dev/ttyUSB0 115200 |
To detach from screen press
|
1 |
Ctrl+a+d |
instead to resume run
|
1 |
screen -r |
To quit screen
|
1 |
killall screen |
Once connected you get the same result as Windows
 In the next article we will begin to see which IDEs can be used to create and load our Python code

