
After installing the firmware on the Nodemcu esp8266 DevKit board
let us now examine a development tool can be suitable for the development of Python code.
A tool that allows both to write code and upload it to the device is uPyCraft
The tool currently works for Windows and from version 0.30 is also available for Linux; the source code is available at the link
Here are the steps for Windows and Linux.
- Windows
Once downloaded the package we must run it as an administrator; the installation of the Monaco font is required
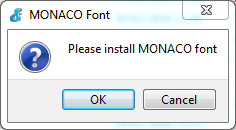
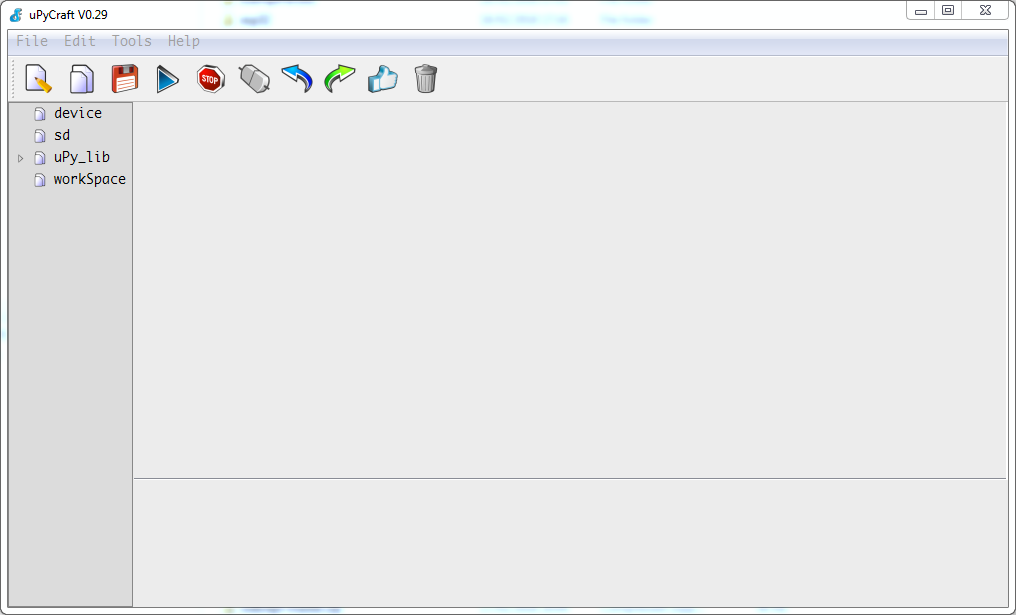
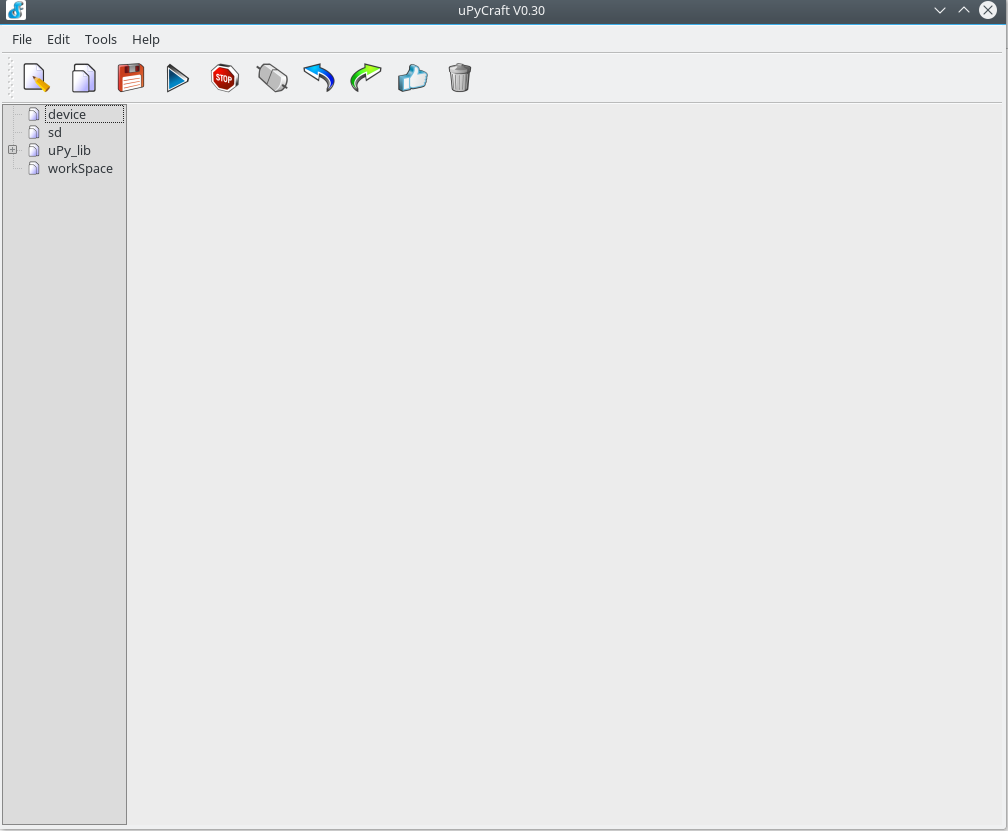
After the font installation, we have the access to the IDE
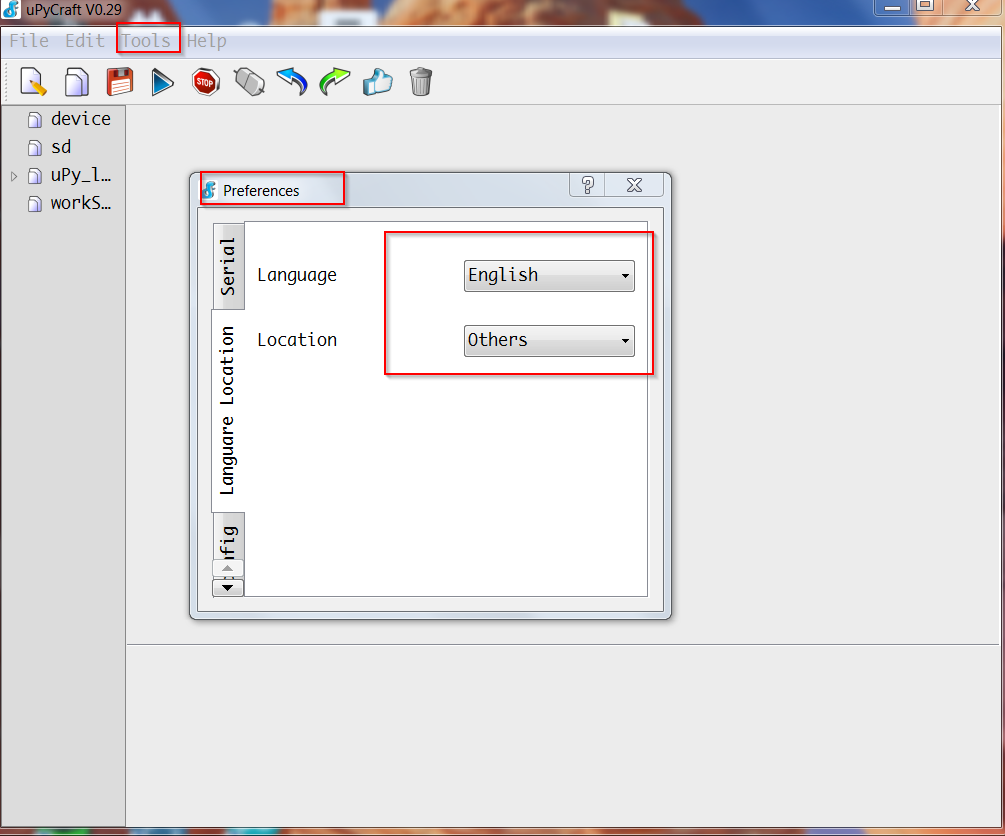
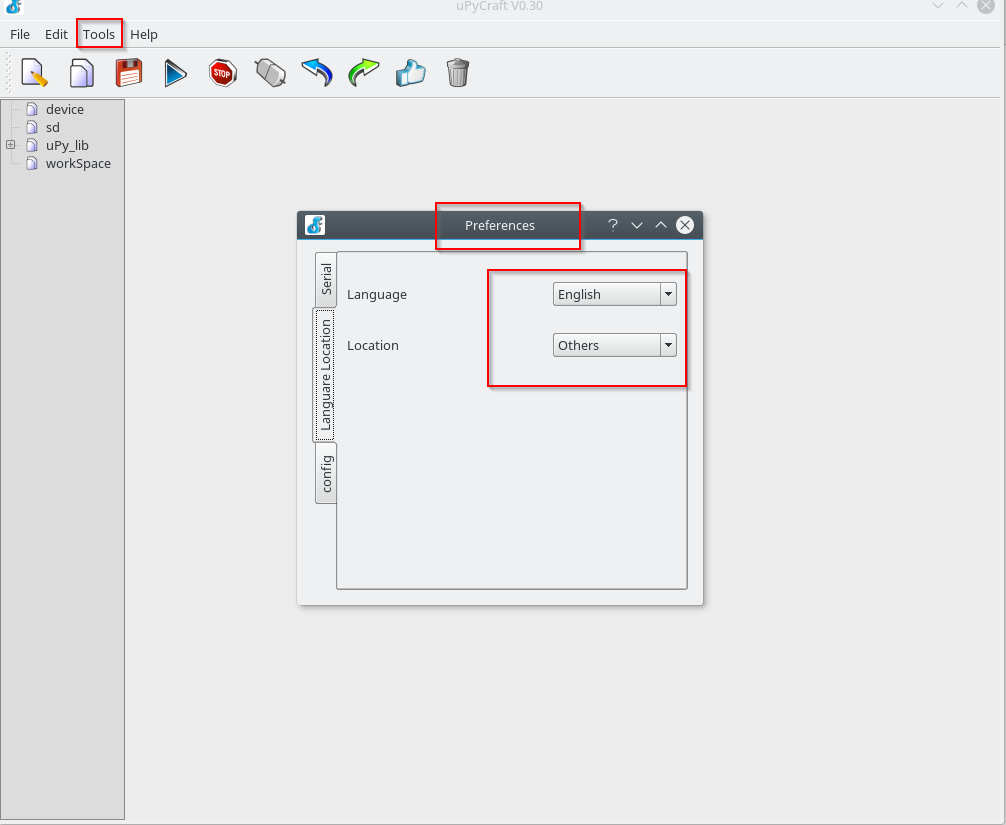
 We set the Location in Tools->Preferences->Language Location
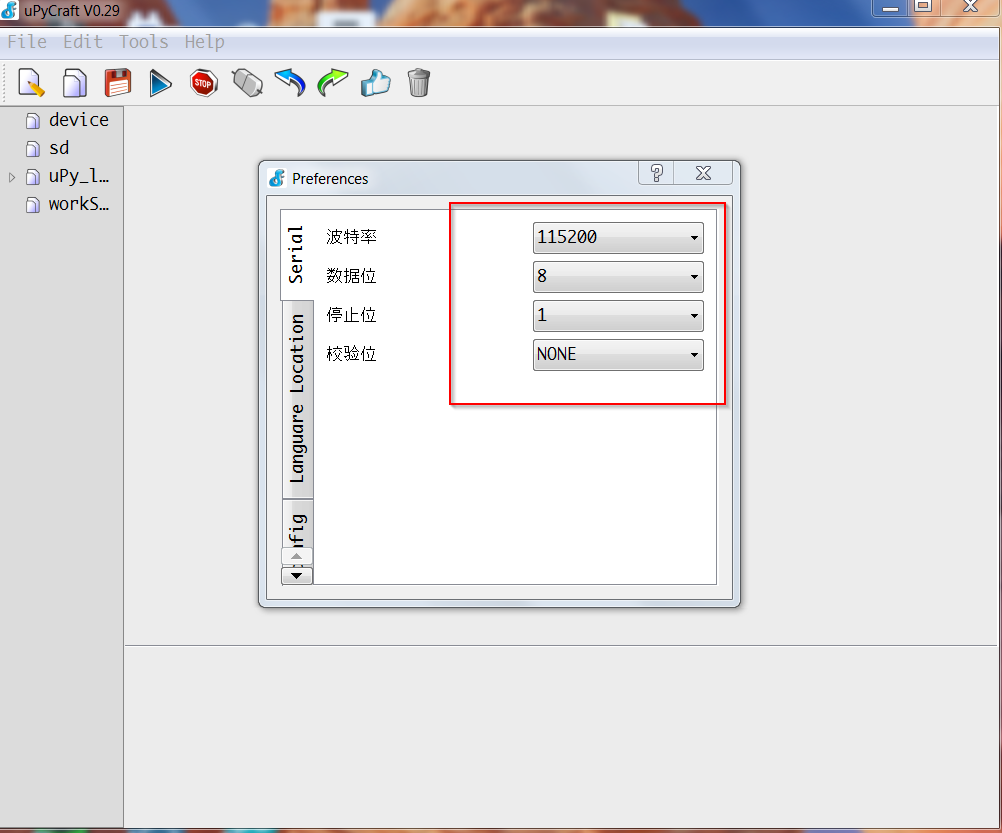
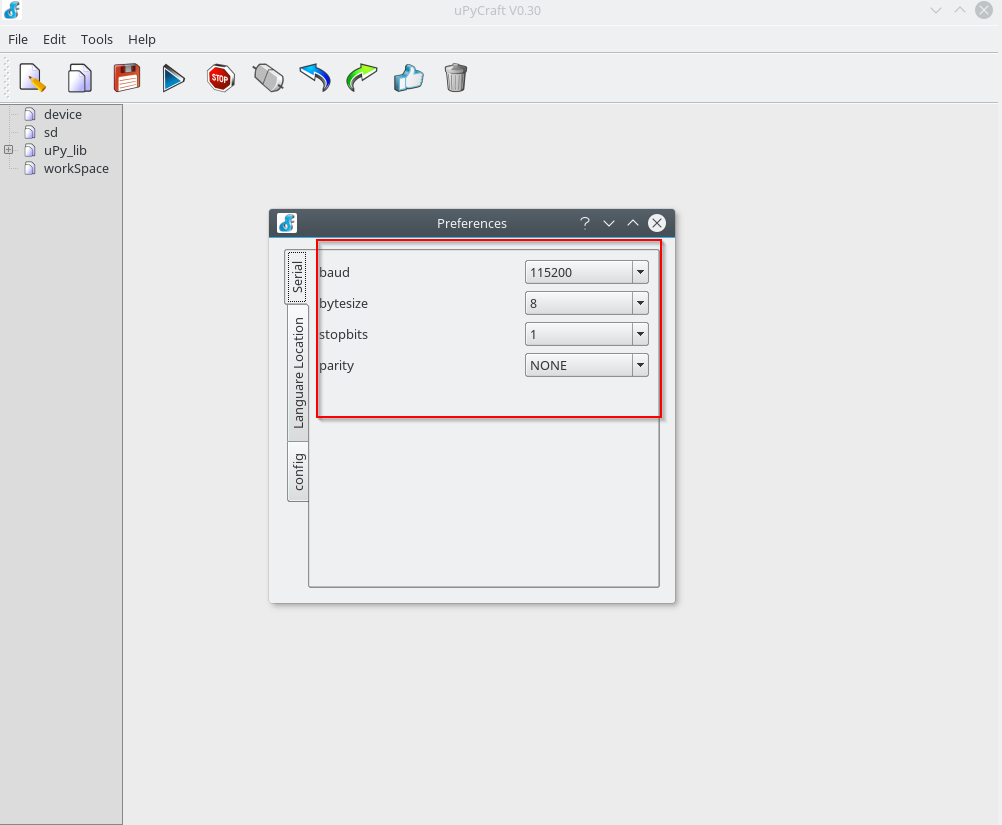
and the serial port paramenters in Tools->Preferences->Serial
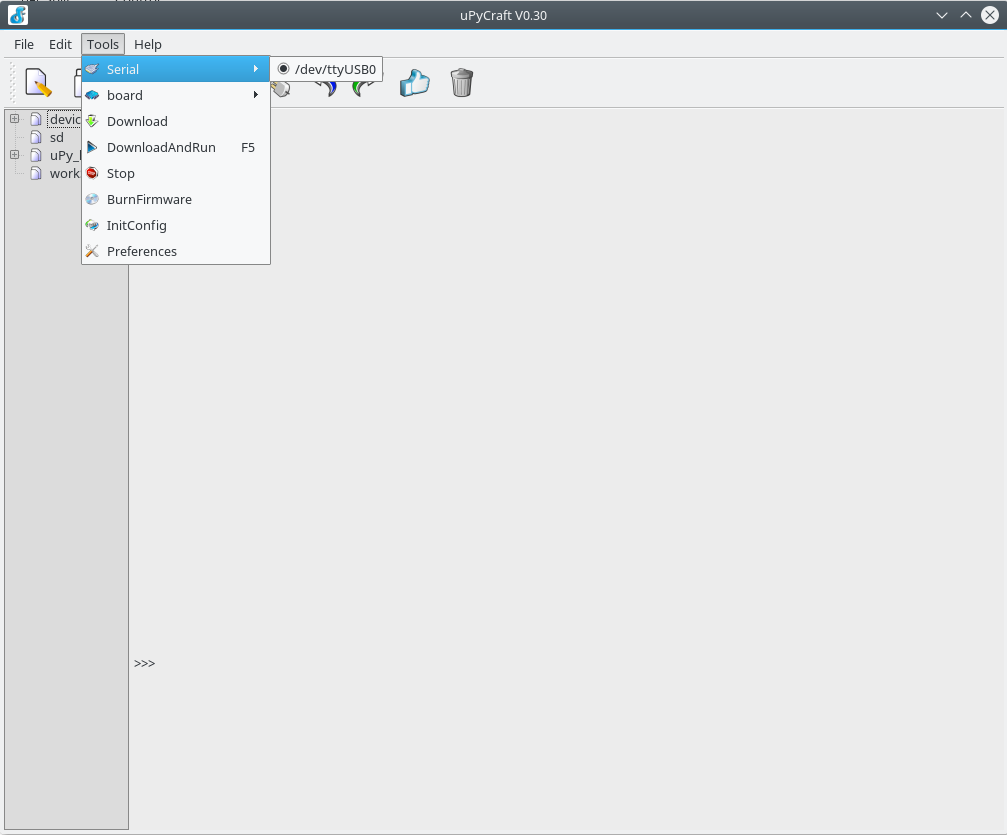
 We plug the device into an USB port and set the serial port on uPyCraft
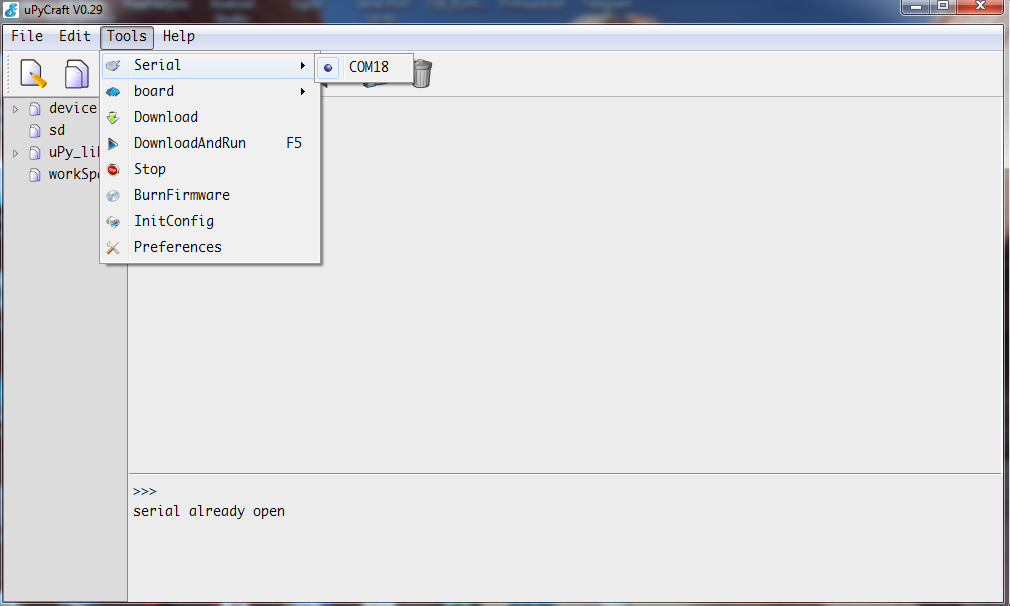 We choose the device type; in this case it is ESP8266
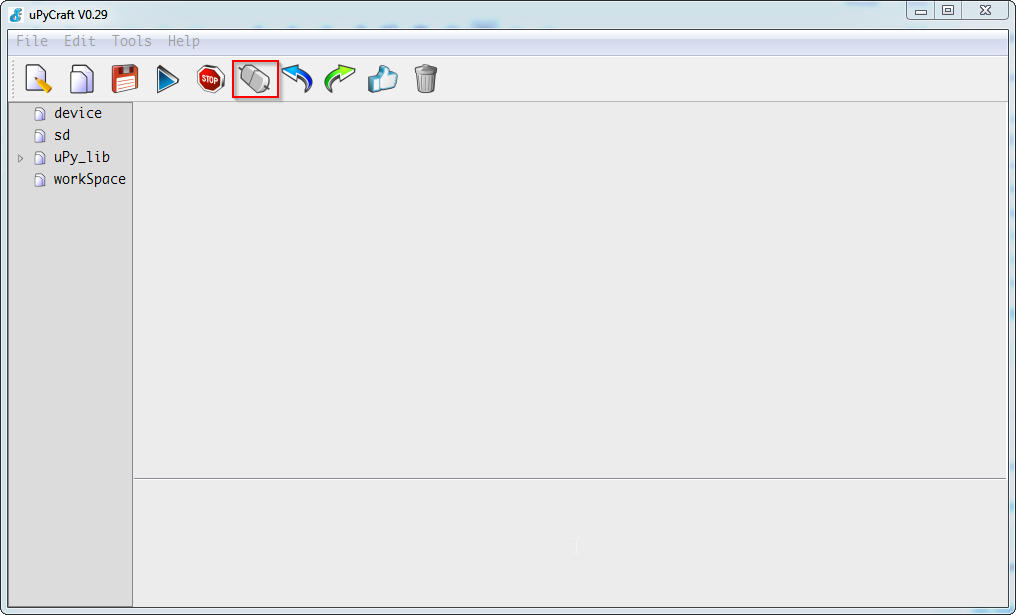
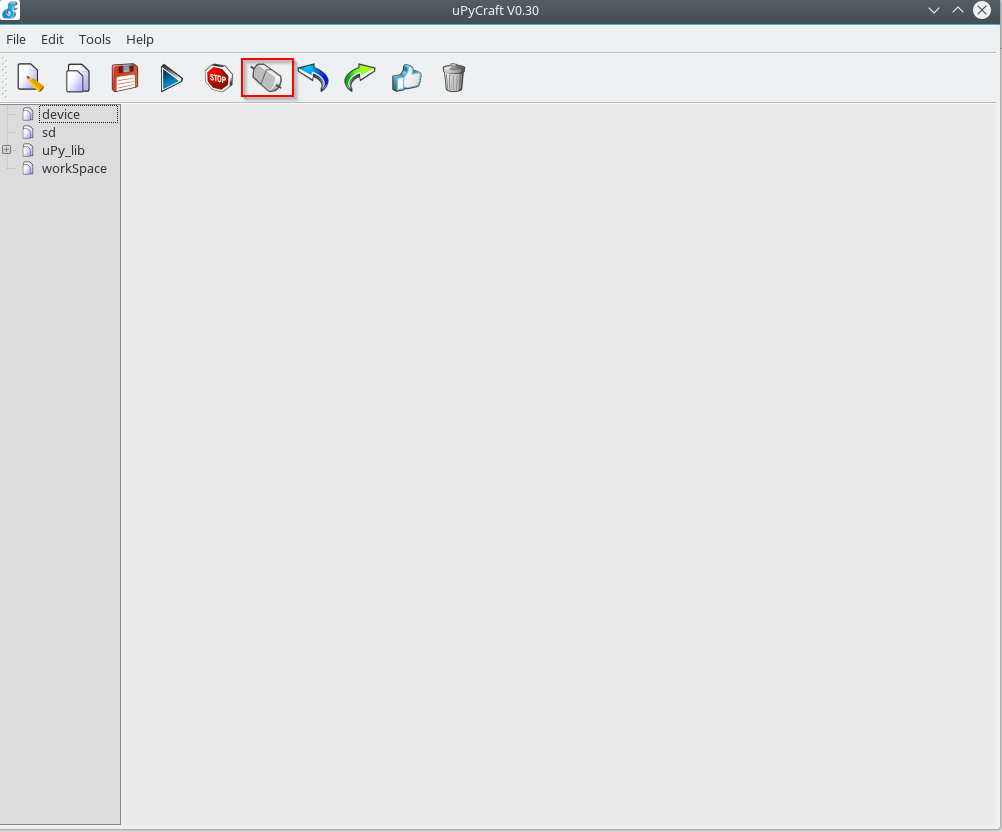
 By clicking on the connection icon we access to the device and view the files on it
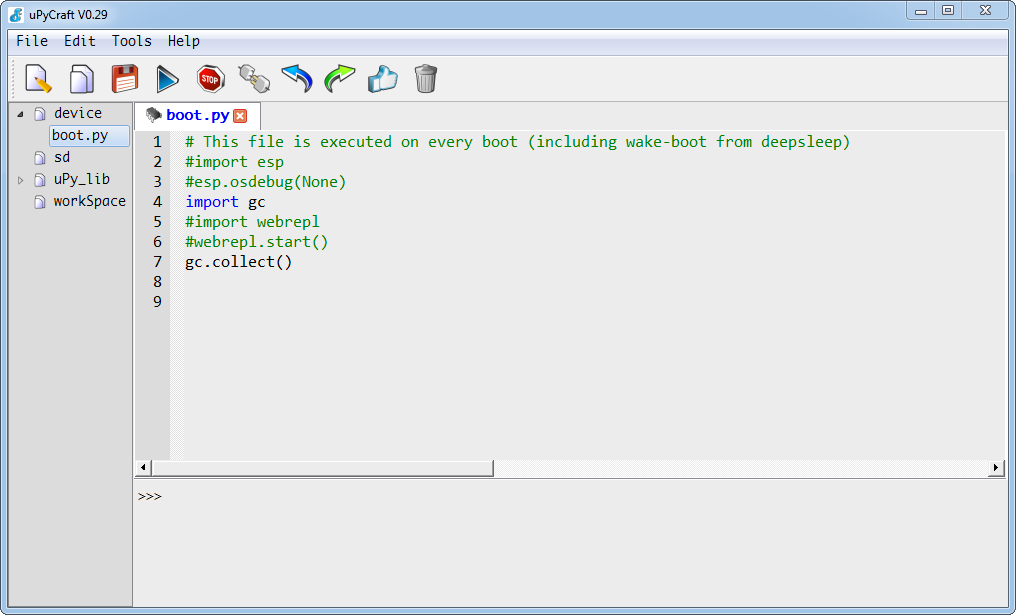
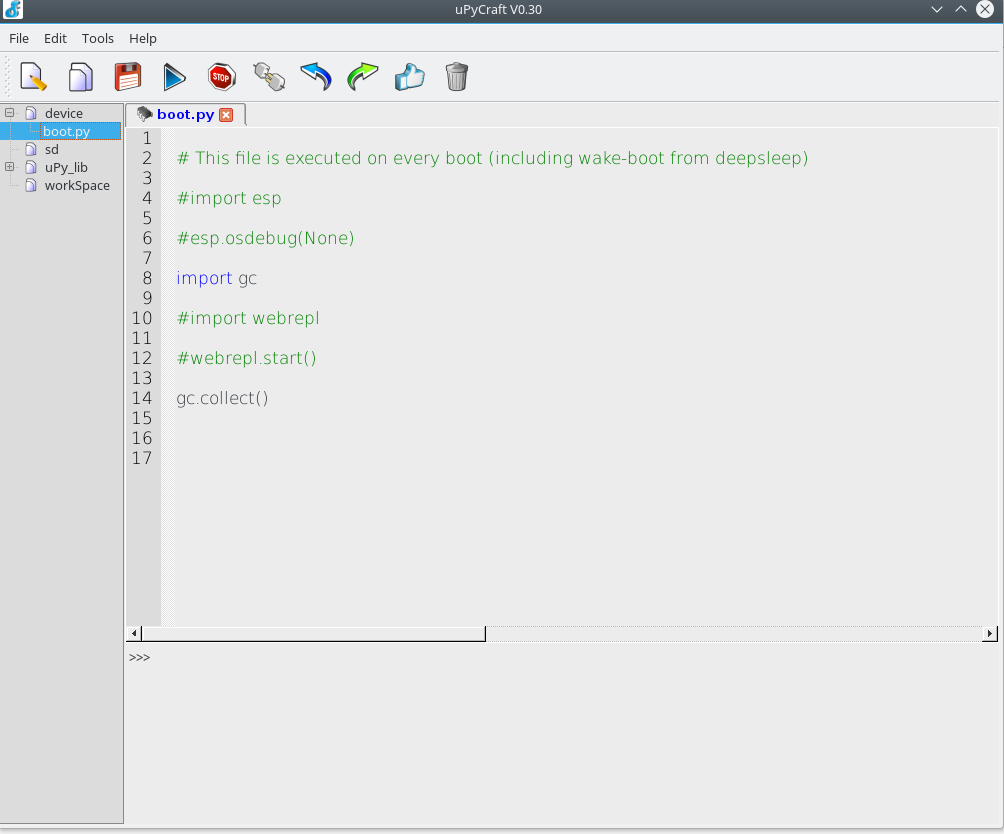
 The firmware installation expands on the device only the Python file boot.py
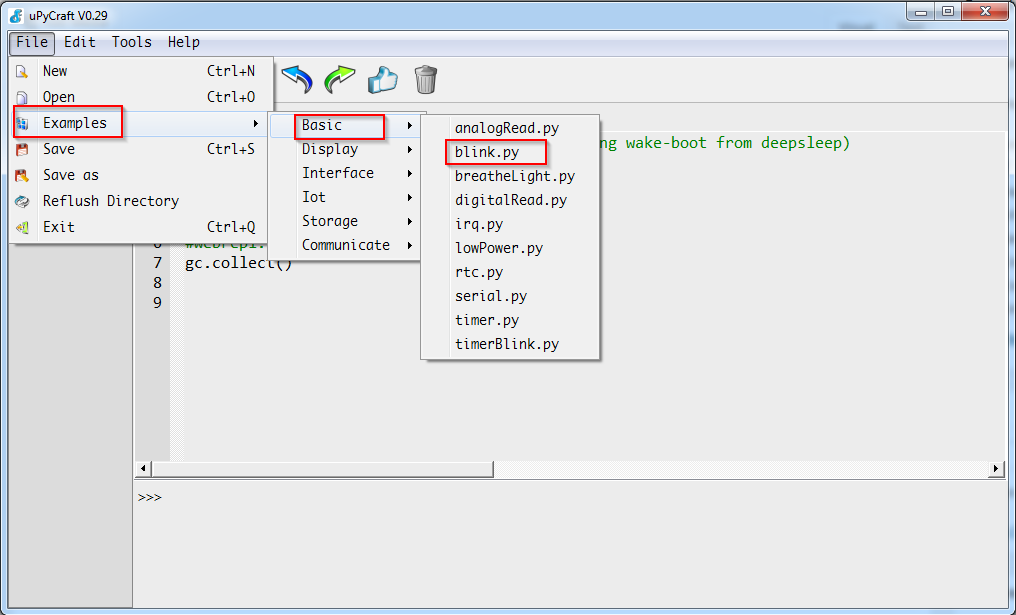
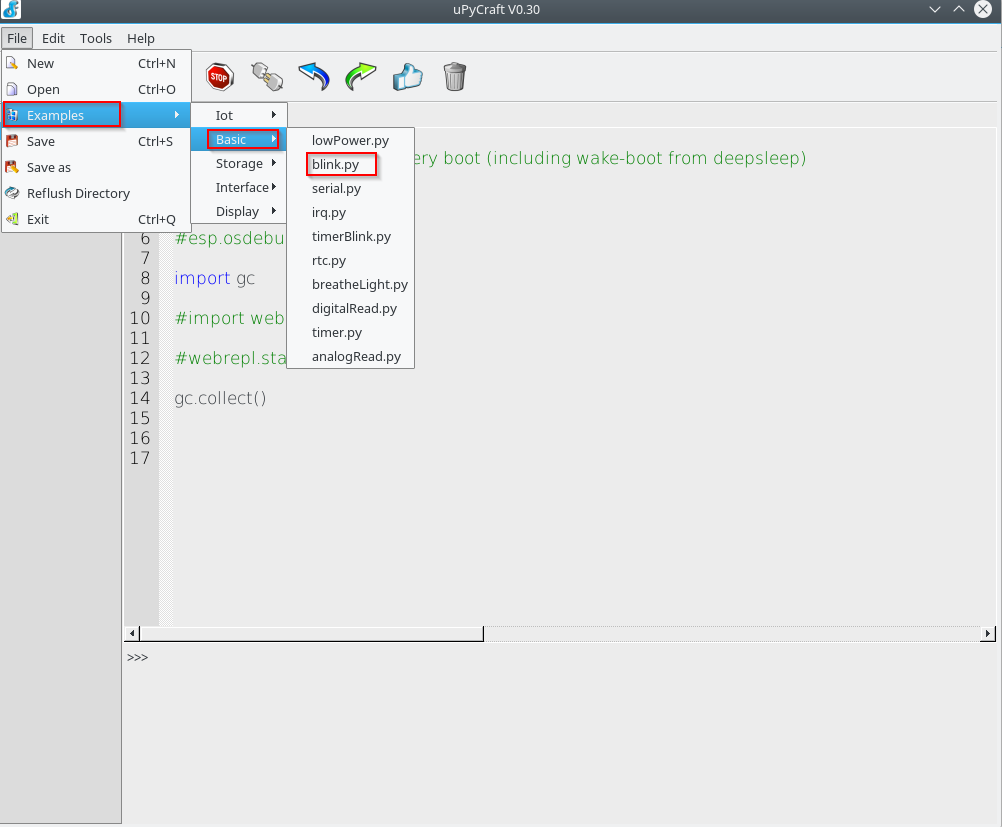
 The tool allows to download examples of MicroPython code for the board, blink.py for example
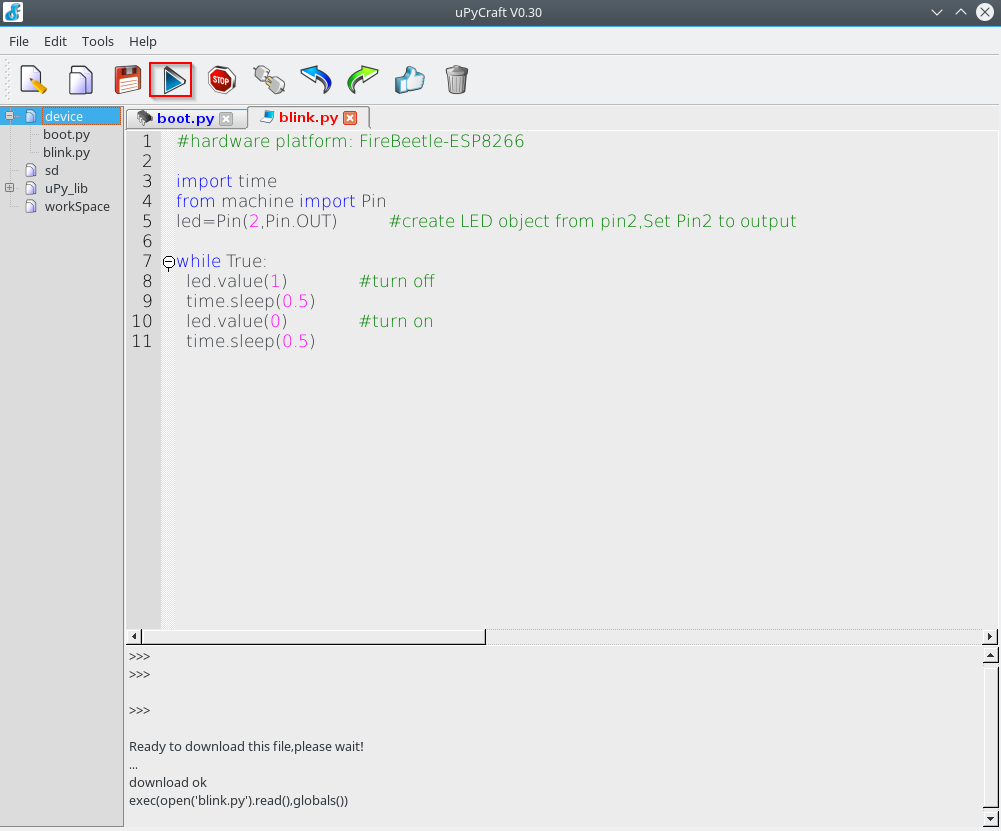
 Clicking the “Download and Run” button we load the code onto the device and run it
 In this example the led of the Nodemcu DevKit blinks.
- Linux
The tool is similar in the Linux version; once downloaded the package to which we have to assign the execution right we run it. We must assign to the user the access to the serial port with the command, already seen above
|
1 |
sudo usermod -a -G dialout USER |
In our case, on Debian 9, we have the following screens similar to what we saw on Windows.
In the uPyCraft IDE
 We set the Location in Tools->Preferences->Language Location
and the serial port paramenters in Tools->Preferences->Serial
 We plug the device into an USB port and set the serial port on uPyCraft
 We choose the device type; in this case it is ESP8266
 By clicking on the connection icon we access to the device and view the files on it
 The firmware installation expands on the device only the Python file boot.py
 The tool allows to download examples of MicroPython code for the board, blink.py for example
 Clicking the “Download and Run” button we load the code onto the device and run it
 As in Windows the led of the Nodemcu DevKit blinks..
In version 0.30 for Windows we noticed some bugs, so for this operating system we continue to use the uPyCraft version 0.29.
Further informations about uPyCraft can be found at the following site
In the next article we will discuss another Python development tool
MicroPython – Development tools Ampy – Eric