Tag Archives: media center

Libreelec8 addon building for Orange PI PC

In the article about the Libreelec8 build for Orange PI PC

Libreelec8 in OrangePI PC

we created the environment and compiled the Libreelec8 image for our development board. We integrate what it has been said in the previous article showing how to build  the Libreelec 8 addons for our Orange PI PC board.

Now we proceed to build some addons. The packages that you can build are available in the kodi-binary-addons folder as shown below

libreelec8 addonsand in the packages/addons folder

addons packages

We build the  pvr.iptvsimple addon running the following command from the /home/sviluppo/orangepi/libreelec/libreelec-8.0 folder

addon command

We build the proftpd addon, among those avaliable in the packages/addons  folder

The compiled addons are available in the following folder

addons

Here are the links to download some compiled addons

PVR addons

Service Addons

Libreelec8 in OrangePI PC

This article describes the steps that I ran to prepare a first version of Libreelec 8 in Orange PI PC cards and other H3 socs.

Starting from the Debian development envinronment, with its installed packages, already used for the compilation of OpenELEC 7

 Openelec compilation for Orange PI PC

we proceed to build an Libreelec 8 image.

We started as basis from the work done for Openelec 7 and Libreelec 7 available on the two github repositories

H3 Openelec 7 Github

H3 Libreelec 7 Github

Log in a unix command shell as user sviluppo; create a folder, libreelec , under orangepi folder and move into it

Clone the Libreelec8 github

The patches have been created for a specific version of the commit, so we align our github clone to that version

Download from the following link the patches, the H3 project and other stuff

H3 Libreelec 8

Unzip this file in /home/sviluppo/orangepi/libreelec

Run the following steps

1)Copy  to /home/sviluppo/orangepi/libreelec/libreelec-8.0/projects the folder

H3

2) Copy to /home/sviluppo/orangepi/libreelec/libreelec-8.0/packages/multimedia  the folders

cedarx
libmpeg2

3) Copy to /home/sviluppo/orangepi/libreelec/libreelec-8.0/packages/tools the folder

sunxi-tools

4) Copy to /home/sviluppo/orangepi/libreelec/libreelec-8.0/packages/sysutils  the folder

  sunxi-sys-utils

5) Copy to /home/sviluppo/orangepi/libreelec/libreelec-8.0/packages/graphics  the folder

sunxi-mali

6) Copy to /home/sviluppo/orangepi/libreelec/libreelec-8.0/packages/linux-drivers  the folder

mt7601u

7)  The following patches are available in /home/sviluppo/orangepi/libreelec/H3LE8/patches folder

linux.patch

image.patch

mkimage.patch

kodi.patch

libcec.patch

u-boot.patch

u-boot-release.patch

u-boot-update.patch

Patch the code from the /home/sviluppo/orangepi/libreelec folder running the following commands

Proceed to the image build for Orange PI PC from the folder /home/sviluppo/orangepi/libreelec/libreelec-8.0  running

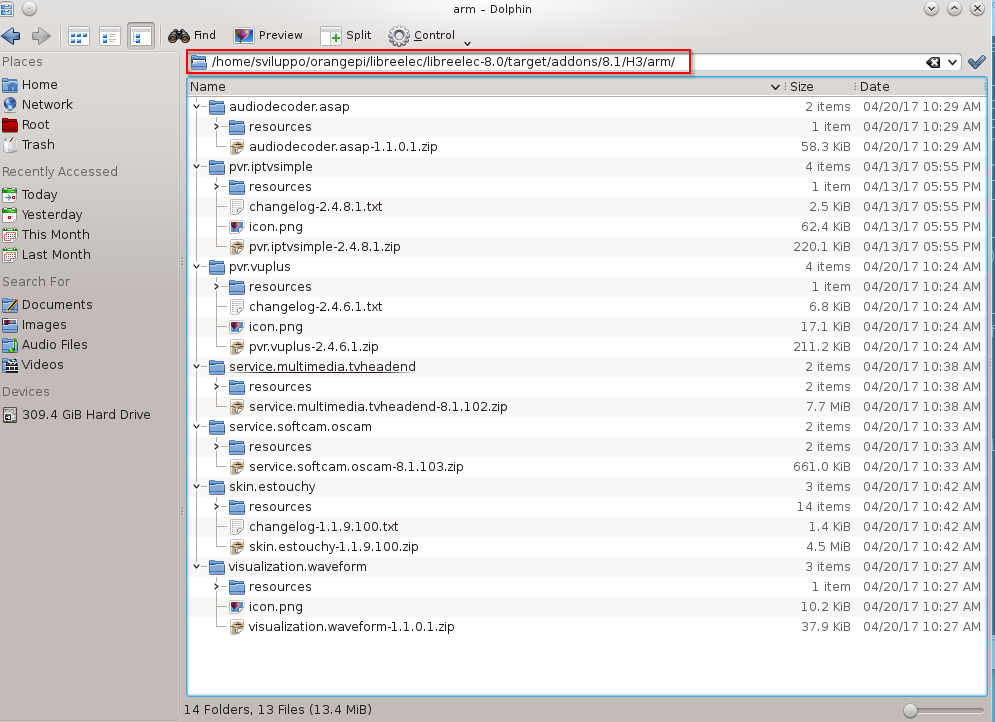
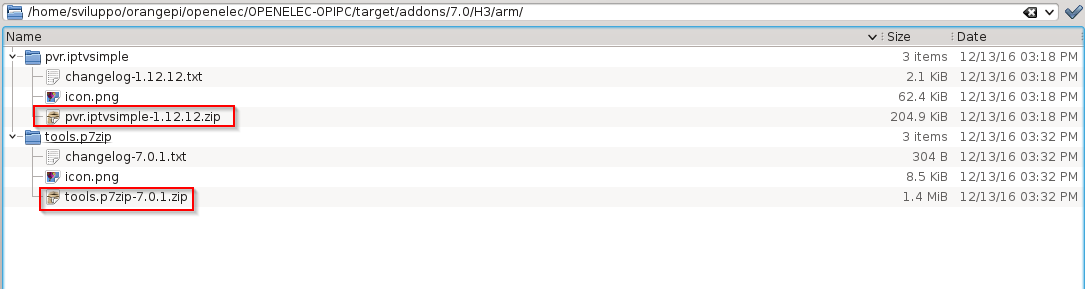
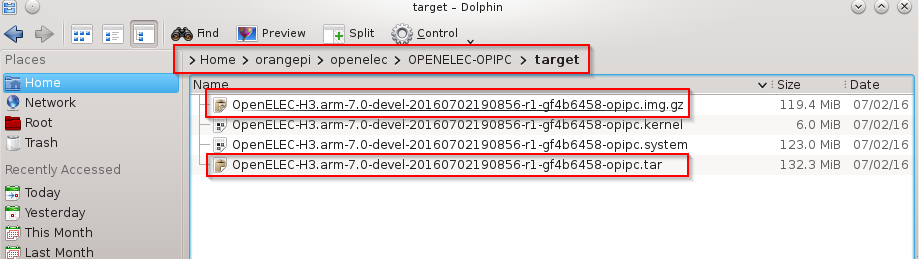
At the end of the compilation in the /home/sviluppo/orangepi/libreelec/libreelec-8.0/target folder we find the files to install or update Libreelec 8

 At the link

Openelec 7 H3 FAQ

we find the boards we can build changing the SYSTEM parameter in the building command

SYSTEM=opi2
SYSTEM=opione
SYSTEM=opipc
SYSTEM=opiplus
SYSTEM=opilite
SYSTEM=opipcplus
SYSTEM=opiplus2e
SYSTEM=bpim2p
SYSTEM=bx2

This image is a first attempt to build Libreelec 8 for  H3  socs. The image was installed on Orange PI PC and the system worked well, but still bugs and malfunctions may occur.

Here is the built Libreelec 8 image for Orange PI PC

Orange PI PC Libreelec 8 Image

We tested this image on an Orange PI PC board.

Here are other images we did’t test on the devices

Orange Pi2 Libreelec 8 Image

Orange Pi Lite Libreelec 8 Image

Orange Pi One Libreelec 8 Image

Orange Pi PC Plus Libreelec 8 Image

Orange Pi Plus Libreelec 8 Image

Orange Pi Plus 2e Libreelec 8 Image

WARNING: The image installation on the device is at your own risk. We accept no responsibility if the installation leads to  malfunction or block of the device.

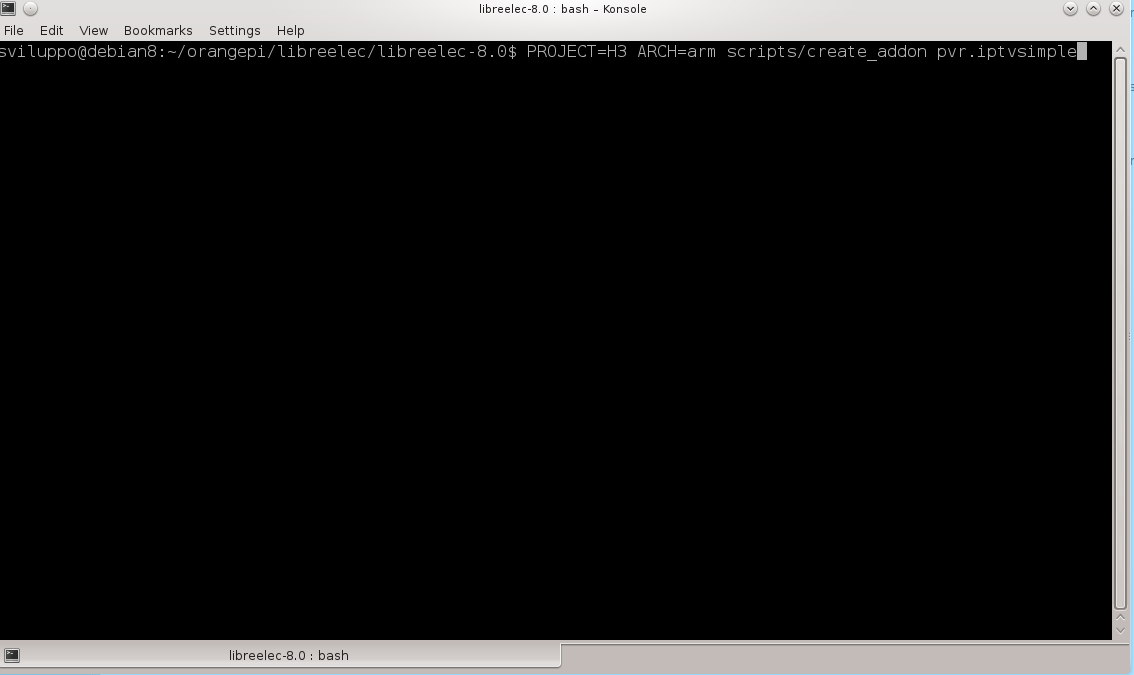
The following article shows how to build the addons

Libreelec 8 addon building for Orange PI PC
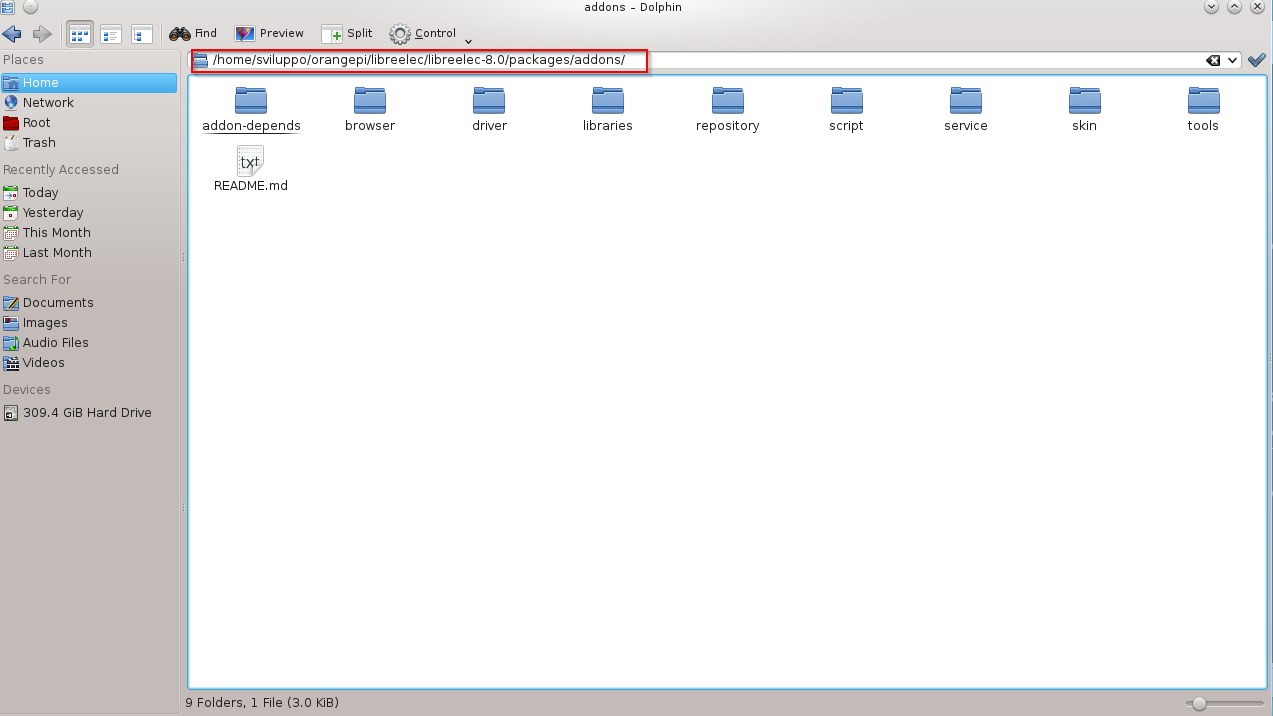
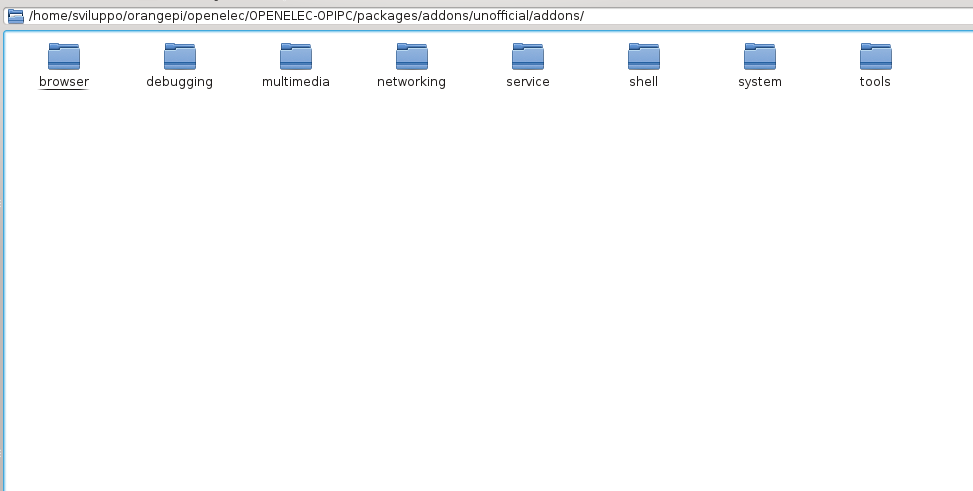
Openelec addon building for Orange PI PC

In the article about the OpenELEC build for Orange PI PC

Openelec building for Orange PI PC

we created the environment and compiled the OpenELEC image for our development board. We integrate what it has been said in the previous article showing how to build  the Openelec addons for our Orange PI PC board.

As stated in the linked article we have to open a shell command window in the  OPENELEC-OPIPC folder

Using the  graphical interface in Debian we can verify the availabilty of the official addons structure. To add the unofficial ones we have to run from the  OpenELEC-OPIPC folder

Now we proceed to build an official addon and an unofficial one. The packages that you can build ara available in the official folder as shown below

official Addonsand in the unofficial folder

unofficial Addons

We build the  official pvr.iptvsimple addon with the command

For the unofficial we build the p7zip module

The compiled addons are availablein the following folder

addons

In the case of errors in the compliation check the logs and proceed consequently. For example in the case of trasmission the system was not able to download the source package using the link in the package.mk file

To overcome this unexpected error we added another link to the package, i.e.  we  changed the package.mk file from

to

In this way, the transmission addon has been compiled correctly, always with the command

Remote control configuration for Libreelec on Amlogic Socs

In the previous article we installed on a microsd card Libreelec and started the device with this image

Libreelec Image for Amlogic socs

The remote control of the Beelink Minimx III is basic, so to have more keys  we decided to associate another remote control to the box.

We chose the following remote control that has more buttons included

remote control

According to this document on Amlogic site, although prepared in Chinese, through the use of online translators

How to change IR codes

It shows that the soc Amlogic natively manages the NEC protocol for remote controls and through remote.conf file we can associate the remote control code to the Linux system events. The map of the codes for the Linux system events is available in the header files of the Linux kernel

Input Event Codes

As a first step we log on Libreelec in ssh with root/libreelec. Copy the  /etc/amremote/libreelec.conf file as remote.conf in /storage/.config folder

and edit it as follows

Load the new codes of the remote file with the command

Press some button of the new remote control and run

In the case of compatible remote control we should see messages as shown below

The format is as follows: 0xAABBCCCC. Following Amlogic document linked above, the remote control code for a specific key is 0xBB; while defining the remote control code we have to use 0xCCCC0001. AA corresponds to the inverse logic of the command. In the case of the above example

BB = 0x51 = 01010001 in binary. The logical inverse = 10101110 in binary, which is just 0xAE.

AA = 0xAE. Binary = 10101110

The AA code is not used for our remote control configuration.

Press all the buttons on remote control and run the dmesg -c command. In our case we have the following codes

The mapping of the remote control in kodi is  in the /usr/share/kodi/system/keymaps/remote.xml file.

We mapped the remote control codes to the Linux input events. As an example let’s consider the Power button. The remote control code is

The KEY_POWER  event in the input-event-codes.h file is

We  created a link between the remote control code and the event in Linux in the  key_begin, key_end section of  the remote.conf file

Between the two data

insert a space, as indicated in Amlogic document linked above . The file used in this case is available at the following link

remote.conf

At the restart of the box Libreleelc reads the new configuration in /storage/.config/remote.conf  allowing so the use of the new remote control.

Libreelec Image for Amlogic socs

In the market there are several TV boxes equipped with Android. Among the most common there are those based on soc Amlogic. For devices with this module there is the way to run, even in parallel without removing the Android image, a media center system based on Linux and Kodi, which is Libreelec. It is a fork of the mediacenter OpenELEC system

Libreelec

The supported platforms are similar to those already available for OpenELEC, but the community is carrying out the development of other images besides the official ones; this is the case for the Amlogic platform.

In Libreelec forum developers have developed unofficial images for tv boxes with soc Amlogic S802 / S905 / S905X

Amlogic Libreelec Forum

We’ll install a Libreelec image for an Amlogic S905 box, in our case the box is Android Beelink MiniMX III. The box comes with on board an Android firmware on the internal flash. The next steps allow to keep the Android firmware of the internal flash and Libreelec on the micro sd card. These instructions can be repeated at least in part with other boxes with soc Amlogic. Refer to Libreelec forum for more insights.

The first operation is to download the image from the link given on Libreelec forum

Amlogic S905 Libreelec Images

We download the version 7.0.2.007

Libreelec S905 7.0.2.007

At the link above there also the dtb files, device tree file, file containing the specifications of the hardware system, for different boxes already  tested.

We unzip the file and load it on a micro sd card in a similar way to what was done for the creation of OpenELEC image for the Orange IP PC

Openelec installation on Orange PI PC

Again we launch Win32DiskImager and after unpacking the LibreELEC-S905.aarch64-7.0.2.007.img.gz file we proceed to the writing on the micro sd card.

At this point,we insert the micro sd card into the box  that we start holding down, in the case of this model, the reset button on the bottom of the box. This is a one-time process; to subsequent reboots the system starts Libreelec, if there is the Micro SD card, or Android system, present on the internal flash, in the absence of micro sd card.

The image automatically uses the remote.conf file for the remote control  from the Android image intalled in the internal flash.

The configuration steps are quite similar to what was done for OpenELEC Orange PI PC, such as to enable the ssh daemon, etc; in this case the remote control, being a box supported by the image, is already working.

libreelec

 WARNING: The image installation on the device is at your own risk. We accept no responsibility if the installation leads to  malfunction or block of the device. Before performing any operation, make sure that you have the original image of the box so you can recover the Android system in case of issues.

In the next article we will see how to configure an infrared remote control with NEC protocol on a system based on soc Amlogic

Remote control configuration for Libreelec on Amlogic socs

Enigma2 package compilation

After the enigma2 compilation

Enigma 2 image compilation

we show how to create a package.

In the recipes-local folder

we create a folder for our package, for example testpackage, and a subfolder files

In the file testpackage.c, in the files folder, we insert the test code

We have to create the Readme.txt in the files folder and the LICENSE file  in the testpackage folder. The Readme.txt file contains informations about the application. For the LICENSE, without information at the moment, we have to generate the hash to insert into the bitbake file.

md5sum command creates the md5 file for the LICENSE

Now we are ready to create the bitbake testpackage_0.1.bb file in the testpackage folder; here is the content of this file

We are now ready to compile the testpackage. We use the Zgemma envinronment to compile the files, as described below

The package is available in the folder shown below

To install the package on the Zgemma H2H we have to trasfer the  testpackage_0.1-r0_mips32el.ipk file on  ZGemma H3 in the /tmp folder and execute in a shell, accessible using the telnet application, the following command

To force the installation use

The executable is available in the /usr/bin folder; the execution gives us the expected output

OpenATV Enigma2 image compilation

In this article we describe how to generate an OpenATV image, based on the Enigma 2 framework

Openatv

 Atfer the compilation envinronment installation, described in this previous article

Debian envinroment setup

we can proceed as described below.

Execute the logon into Debian envinronment with the development user (sviluppo in our example). In the home directory create the enigma2 folder

 Install the following packages

Modify the shell as bash executing

and choosing the NO option.

Create under openatv an enigma2 folder

At this step let’s create a folder sources; this folder will contain all the sources for the various set-top boxes we would like to compile

Using the git command we clone locally the oe-alliance repository

After this task enter into build-envinronment folder and execute

Now we modifiy the source dowload folder editing the site.conf file and changing the parameter as described below from

to

We are ready now to proceed to the image compilation.

From the build-envinronment to generate, for example, the image for Airdigital Zgemma H2H set-top box execute

For the Xtrend ET10000 set-top box

At the end of the process we’ll find the image ready to be uploaded on the set-top box in the deploy folder for each machine type; in the case of the Zgemma H2H the folder is

immaginezgemma

The zip file contains for the Zgemma H2H the file to be unzipped on the usb pen and uploaded on the device.

WARNING: The image installation on the device is at your own risk. We accept no responsibility if the installation leads to  malfunction or block of the device.

Openelec compilation for Orange PI PC

In this article we describe how to proceed to compile the Openelec image for the Orange PI PC card.

From the Orange PI PC forum, in the Openelec section the developers describe the steps to compile the image

Openelec Orange PI PC FAQ

In previous blogs we described how to install debian and how to modify the script.bin file to adapt the hdmi output to our television

Debian installation

Output resolution change

The compilation takes a long time; it is advisable to use multicore processors to speed up the compilation process.

Create a folder, openelec, under orangepi folder and move into it

Install the following packages

With git download the github sources in the local  OPENELEC-OPIPC folder

After the above operation access to OPENELEC-OPIPC folder

Execute the following command

The process check prerequisities and installs additional packages

Insert the root password when required; after the prerequisites installation the compilation begins.

At the end of the compilation in the target folder we find the files to install or update Openelec

  1. The file having the .img.gz extension is to upack and tranfer to a micro sd card as described in previous posts.target
  2. The file with .tar extension is to be copied in the update folder on the Openelec system; this file updates the system when rebooting the Orange PI PC cardupdate

Resolution change of the video output in Openelec on Orange PI PC (Part2)

After the installation and compilation of the sunxi tools we are able to manage the script.bin file

http://www.microdev.it/wp/en/2016/07/29/resolution-change-of-the-video-output-in-openelec-on-orange-pi-pc-part1/

Copy into scriptfile folder our script.bin file.

From th sunxi link it is possible to view the guide about the parameters of the fex file

Fex Guide

Using the tool, compiled in part1 article, let’s convert the file from binary into a text one, executing the following command

Now we can work on the script.fex file. Edit it with a text tool software, for example pluma in Debian

script.fex

In this file we have to find the parameters to modify the video output; here are the parameters to modify

In our test file we found the following settings

According to the fex guide, for the HDMI output (screen_output_type=3) and a setting of 720p60 we have to change the 10 value into 5 in the screen0_output_mode parameter

WARNING: This file contains all the main parameters for the correct operation of the card. Don’t  change anything if you are not sure  waht the change of parameters entails.

After the parameters change convert the text file into a binary format with the following command, generating a .bin file

Move this file into the micro sd card; rename the original script.bin file into script.bin.back and move the  script720p60.bin into script.bin.

In the  Fex Guide we find all the parameters settings according to the various output resolutions.

Inserting the sd card into the Orange PI PC we can test the new output resolution connecting the hdmi to our television and powering on the card.

Resolution change of the video output in Openelec on Orange PI PC (Part1)

In the Orange PI Openelec image the default video output resolution is 1080p60. If our tv works with a different resolution we’ll have no image on the television.

To overcome this problem it is possible to change the resolution and fps  for the video output.

The micro sd has two partitions. We have to work in the vfat partition

schedasd

We have to modify the script.bin file.

contenutoschedasd

In the home partition of the debian user (sviluppo in our case) create a folder orangepi; inside this folder create another folder called  sunxi. Go into sunxi folder

Follow the instructions available from linux-sunxi site in order to modify the script.bin file. As first step install the required tools

Sunxi Tools

We have to install the libusb package, as described below

Install git and pkg-config

Now using git download the tool sources

Go into sunxi.tools folder

Execute the tools compilation

We are now able to modify the Orange PI PC parameters available in the script.bin file.

Create a folder under sunxi, for example scriptfile

Add to th ePATH variable the sunxi tools folders executables

Now in next article we can modify the parameters of video output in the script.bin file

http://www.microdev.it/wp/en/2016/07/29/resolution-change-of-the-video-output-in-openelec-on-orange-pi-pc-part2/