In this page we describe how to setup a remote control to control Kodi on our Openelec distribution on Orange PI PC board. We connect an USB keyboard, an ethernet cable and an HDMI cable to the Orange PI PC to manage the system, connect to the network and connect to the TV respectively.
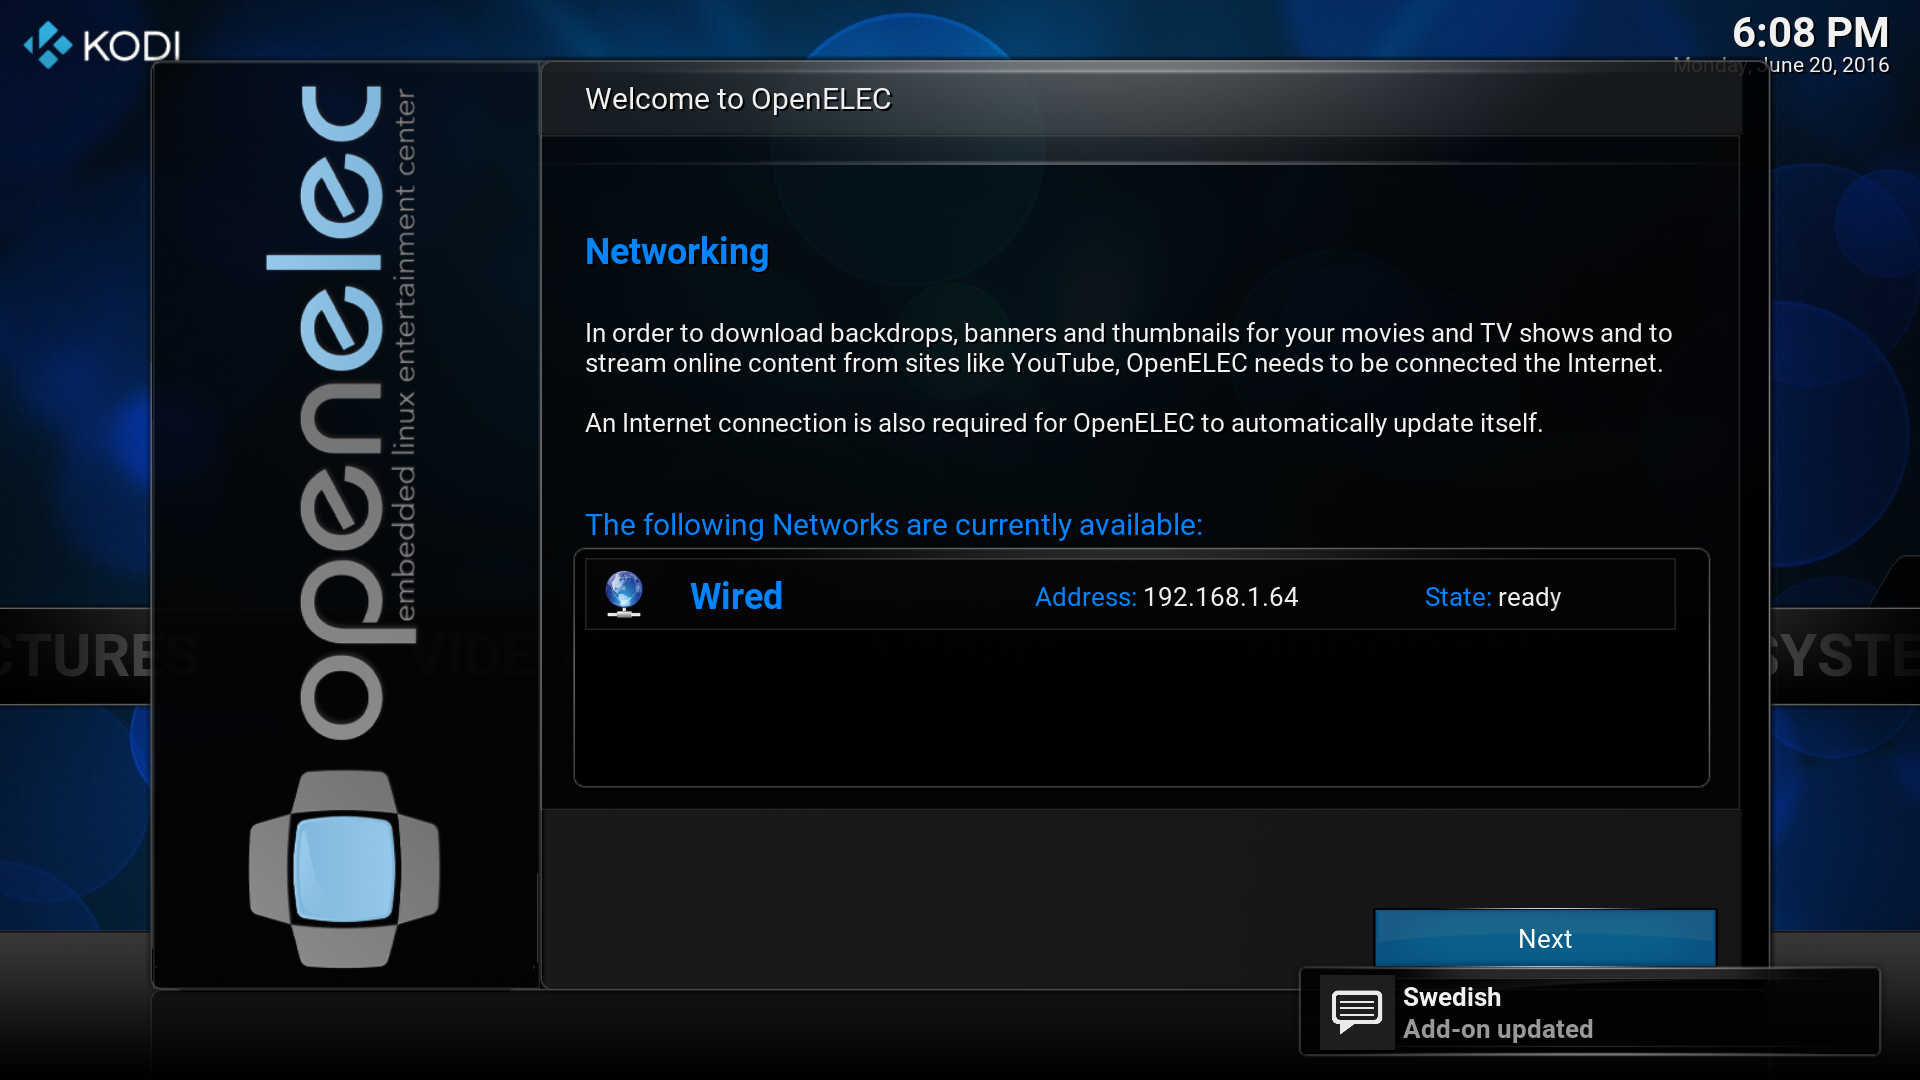
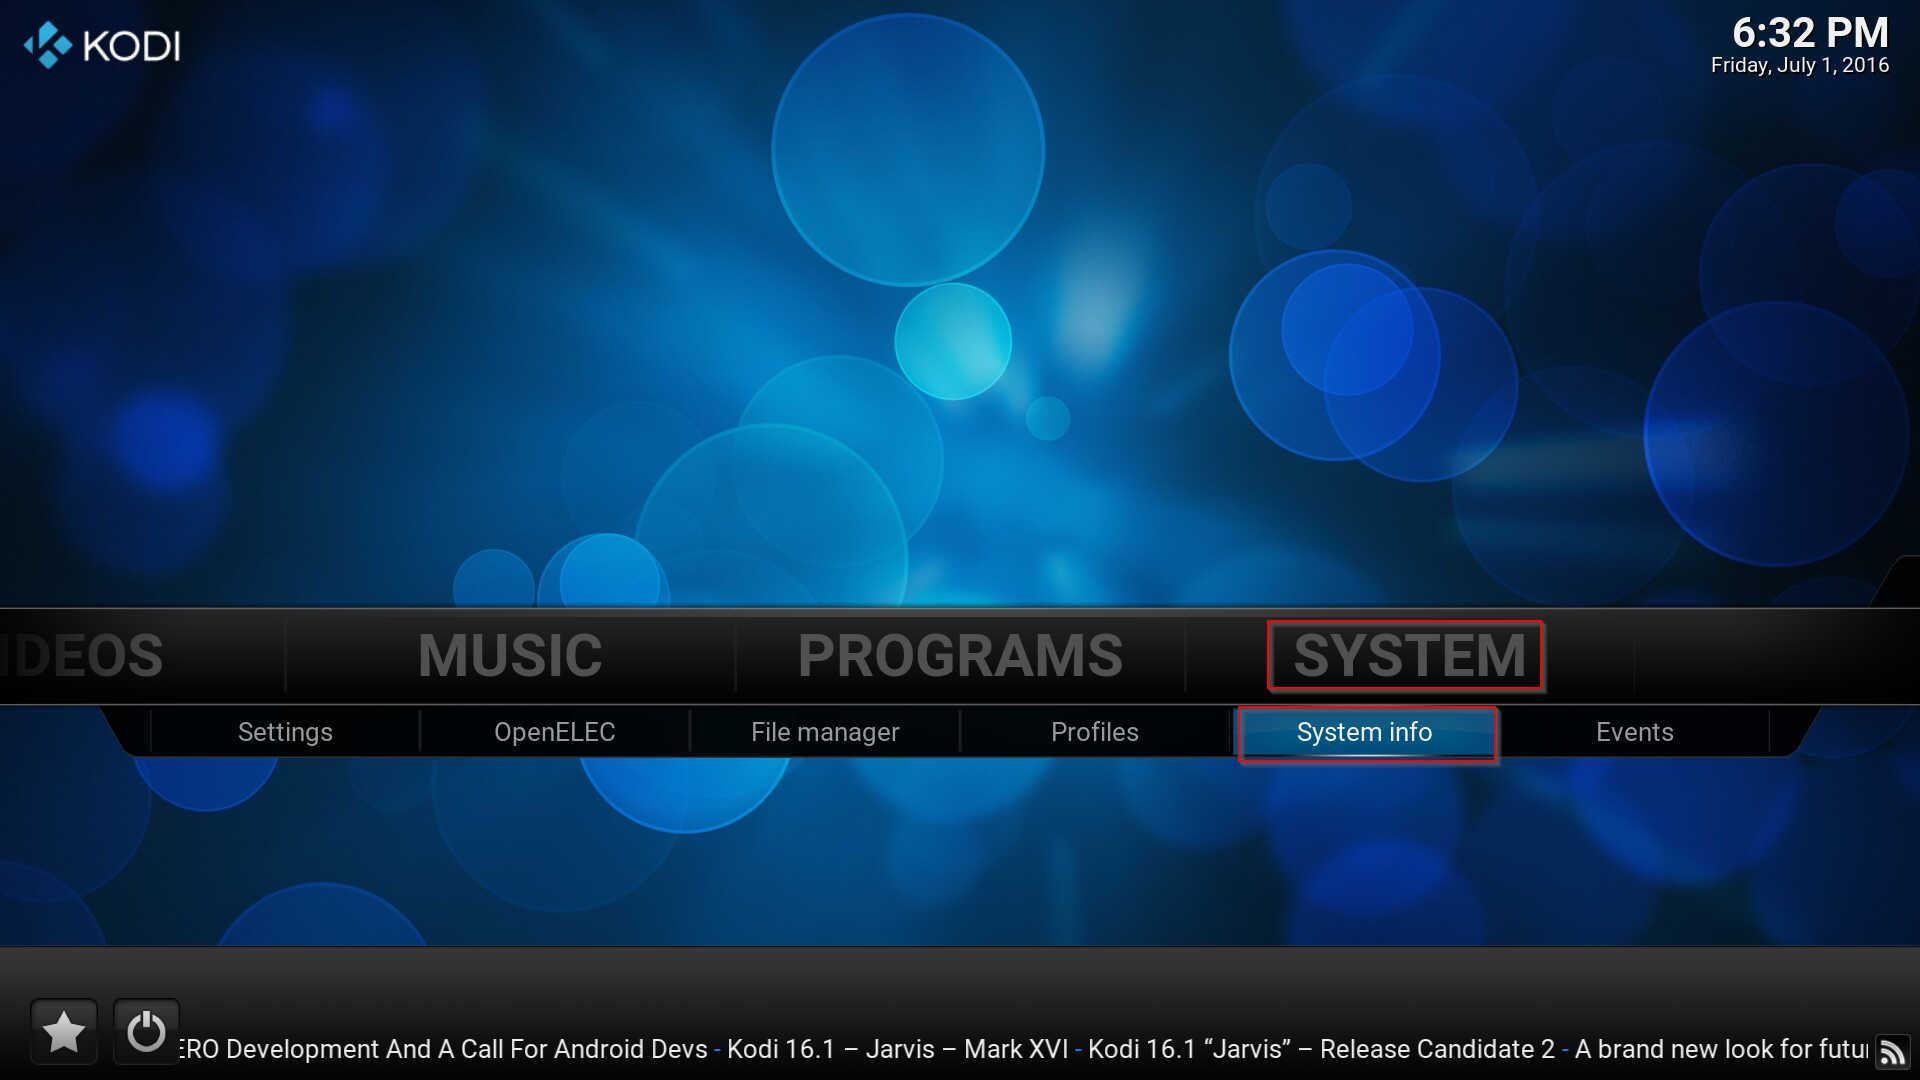
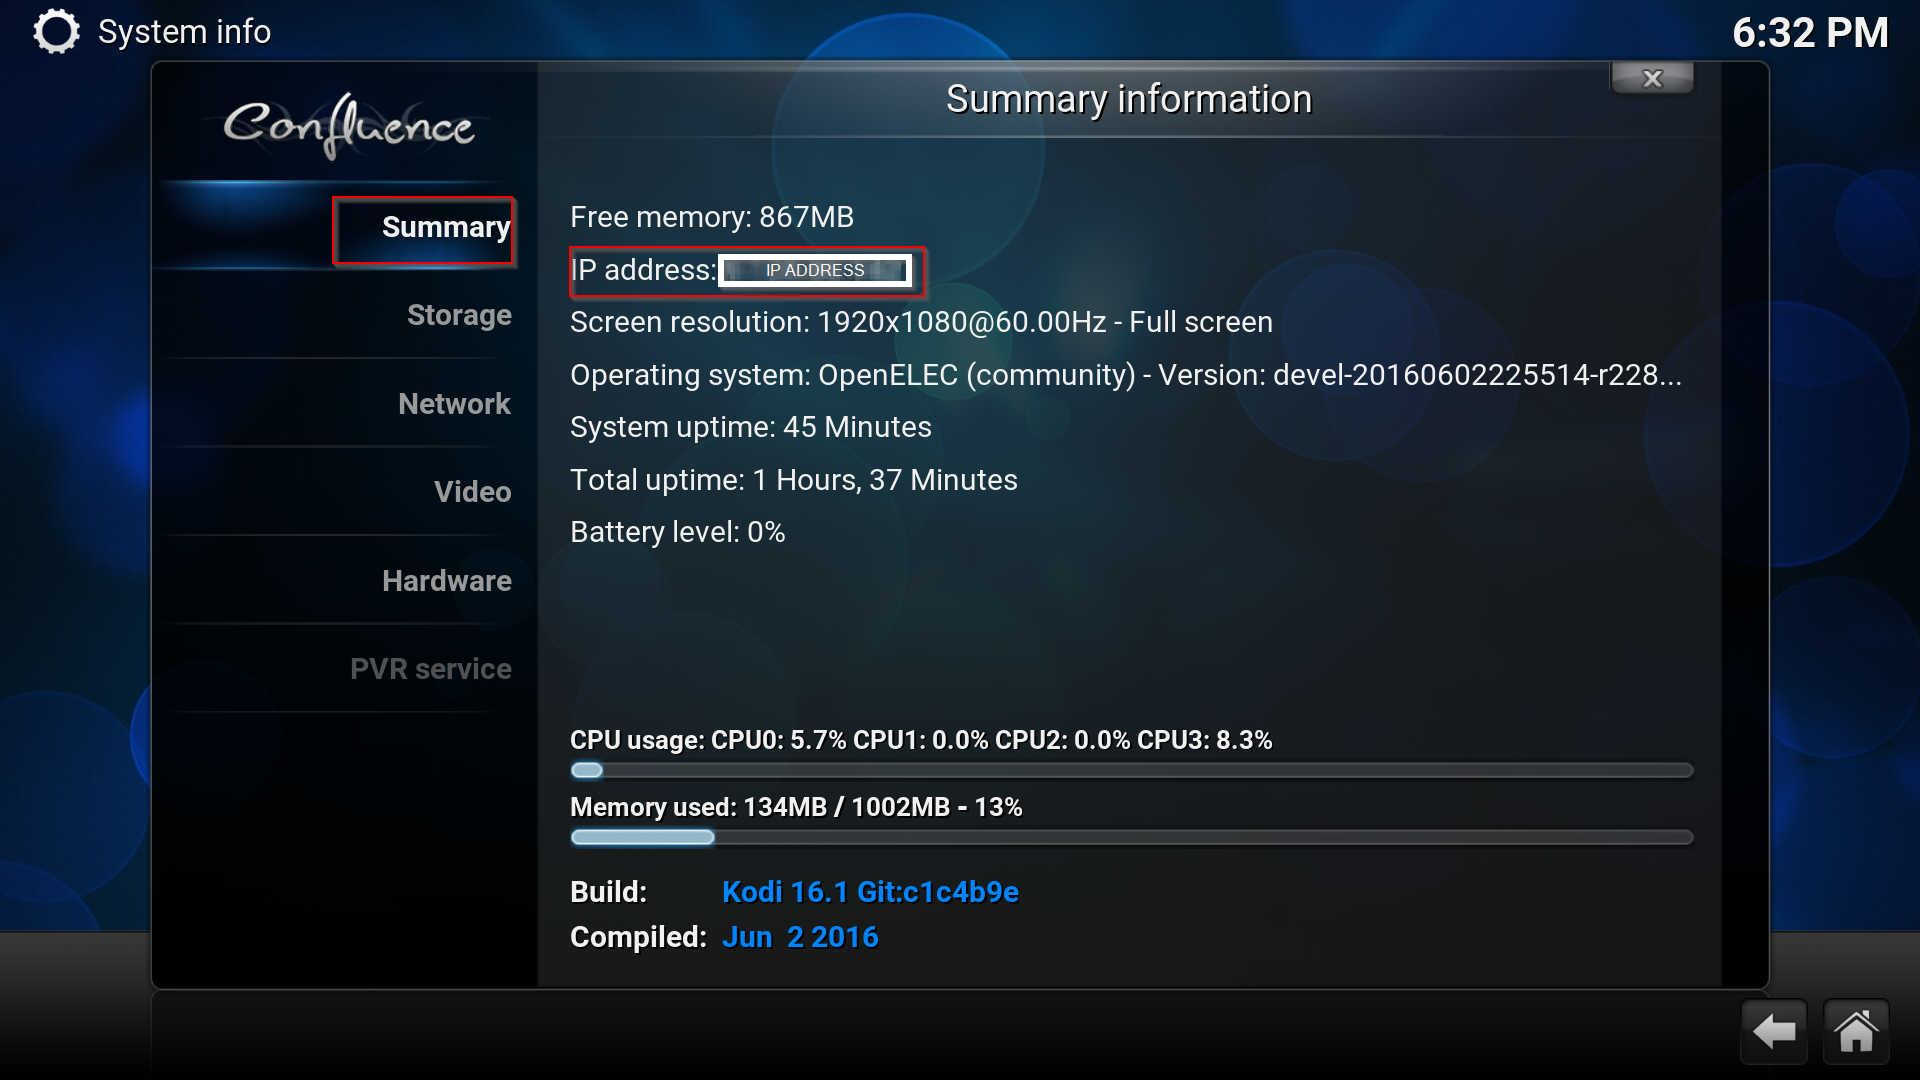
First we have to check the IP Address assigned to Openelec by the network router; we access in System->System Info
In Summary we can read the Ip address (eg:192.168.1.125)
Now we are able to logon in ssh in Openelec. In Windows systems we have to download and execute putty, available at the following address
Putty
In Linux ed Osx systems we use a shell command and execute (where IP_OPENELEC is eg.:192.168.1.125)
The logon password is:openelec
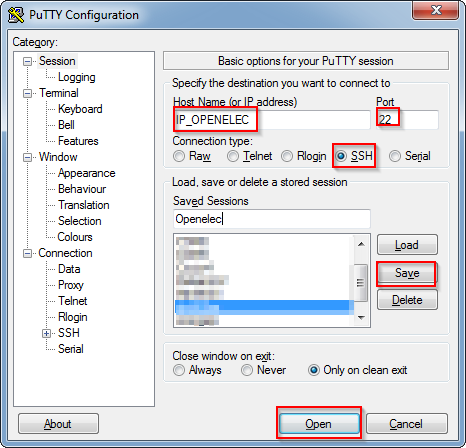
In windows we configure Putty using the Orange Pi PC IP address obtained above, check SSH; after saving with a name to this connection we connect with the Open button
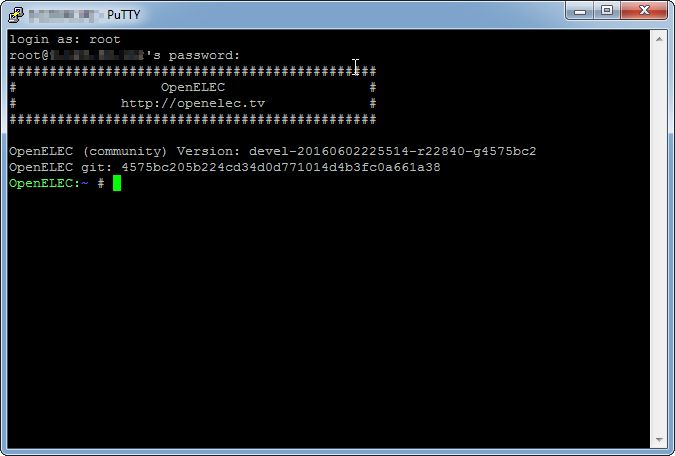
To connect into the Openelec system we have to use the following values:
Login as: root
password:openelec
Now we are able to setup our remote control
Execute the following commands
|
|
killall lircd irrecord /storage/.config/lircd.conf |
Follow the instrucions on the screen. In particular push all the buttons; in the second part of the configuration we have to map the remote controlo buttons with the operating system codes (eg: KEY_OK, KEY_PLAY, KEY_RED, etc). We have the main codes in the file
|
|
/usr/share/kodi/system/Lircmap.xml |
In the remote.xml file
|
|
/usr/share/kodi/system/keymaps/remote.xml |
we have the mapping among Kodi actions and the operating system events .
The command
shows all the events available in our system.
At the end of the procedure we reboot the system with the command
Now we can control Openelec with our remote control.
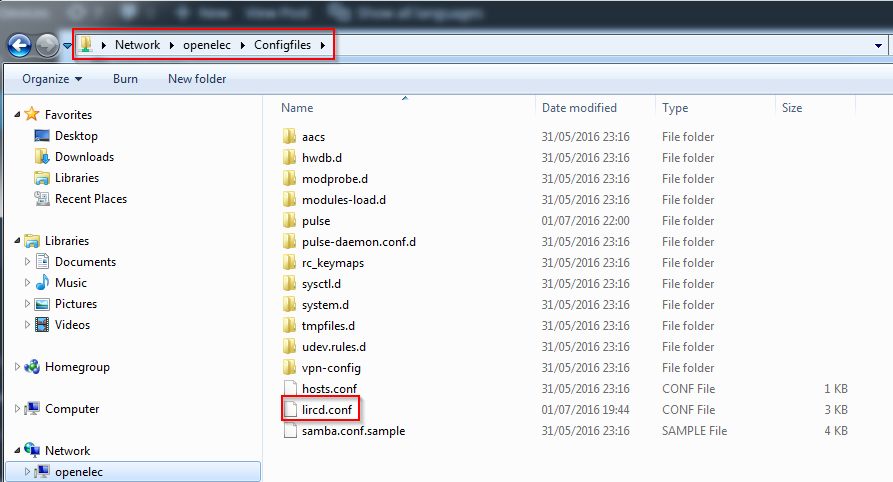
Here is the lircd.conf generated by the procedure described above
lircd.conf
If you need to relaunch the procedure, remove the lircd.conf file and execute again the above commands.
You are able to access the configuration directory using also the windows samba protocol

 Delete, if installed, the packages
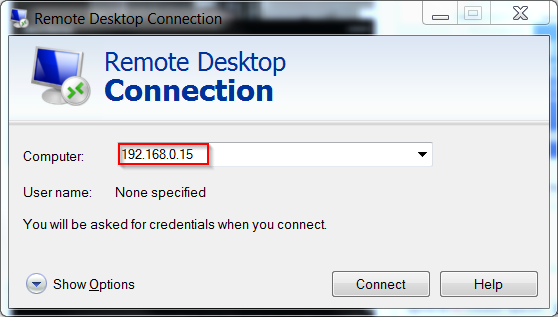 Execute the login with the user created at the first boot of Armbian, for example user1
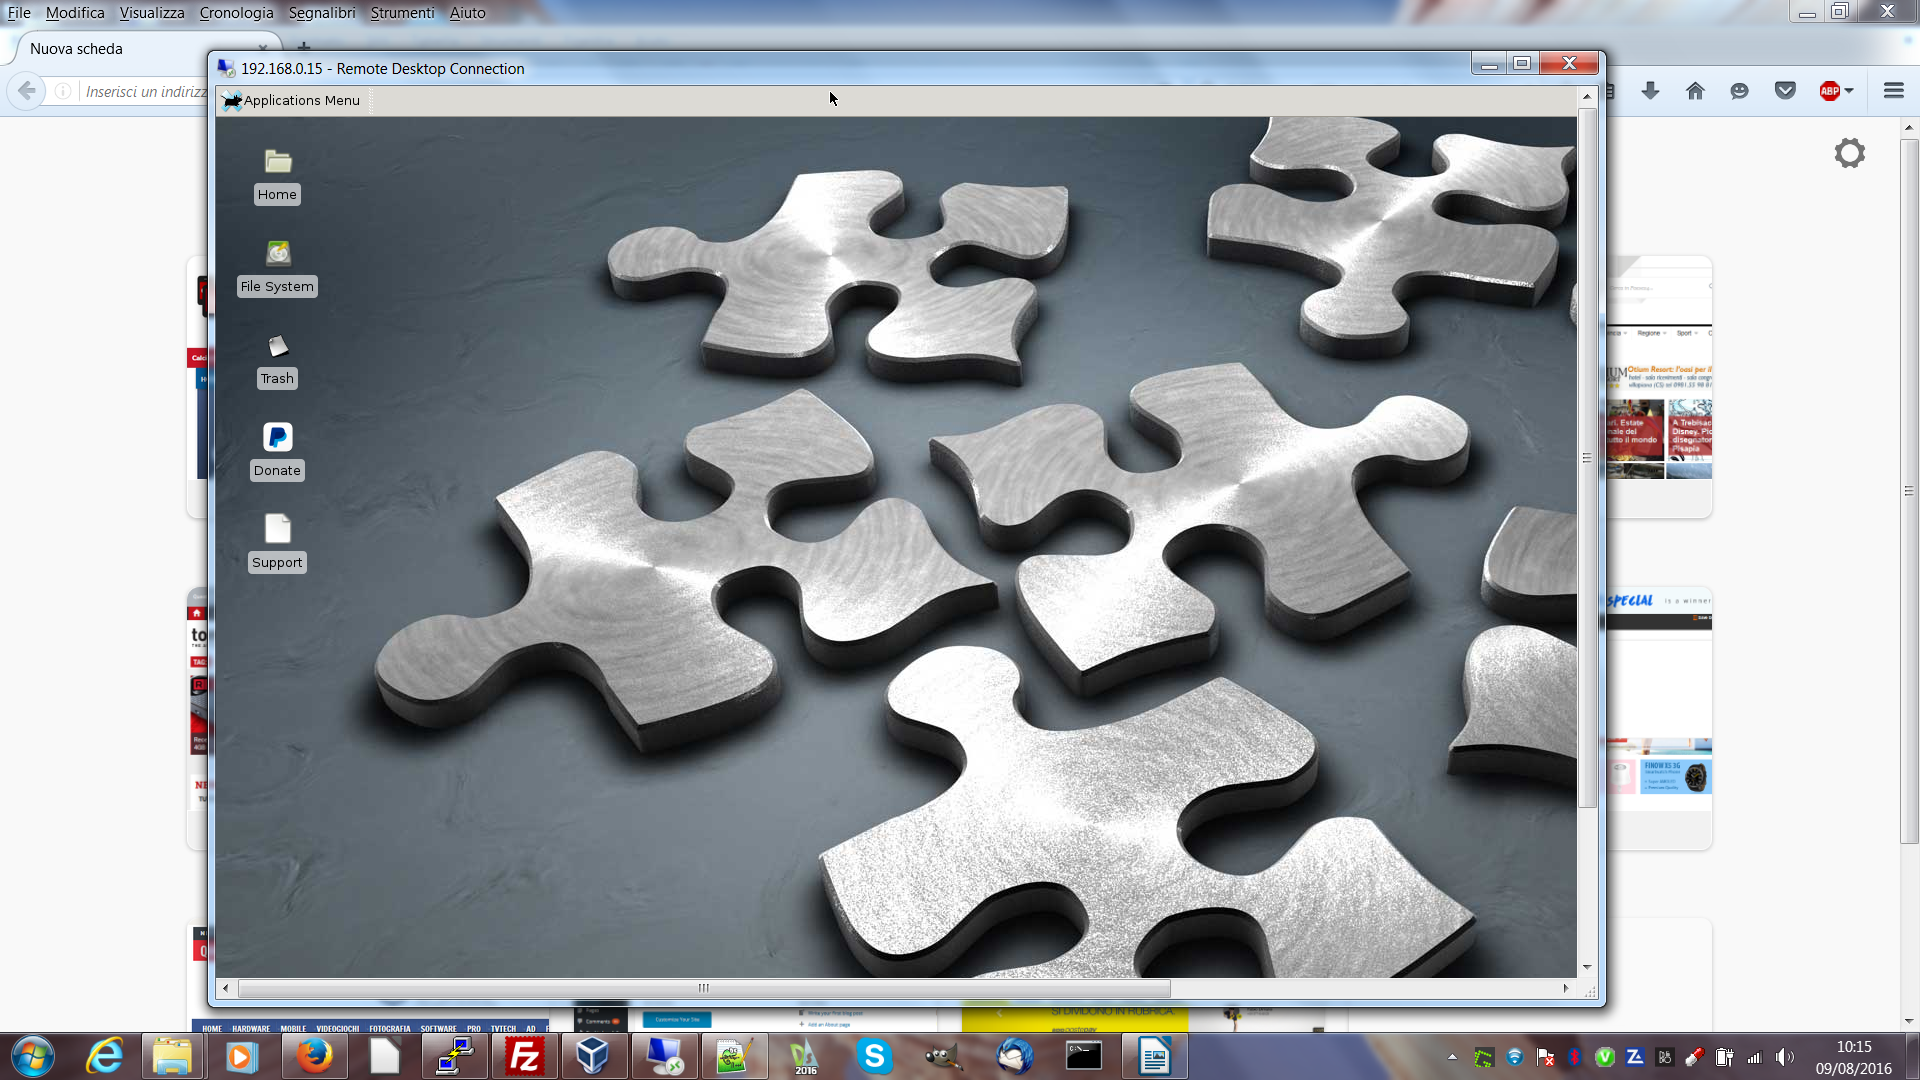
 We now have the access to the XFCE desktop remotely