Openelec compilation for Orange PI PC

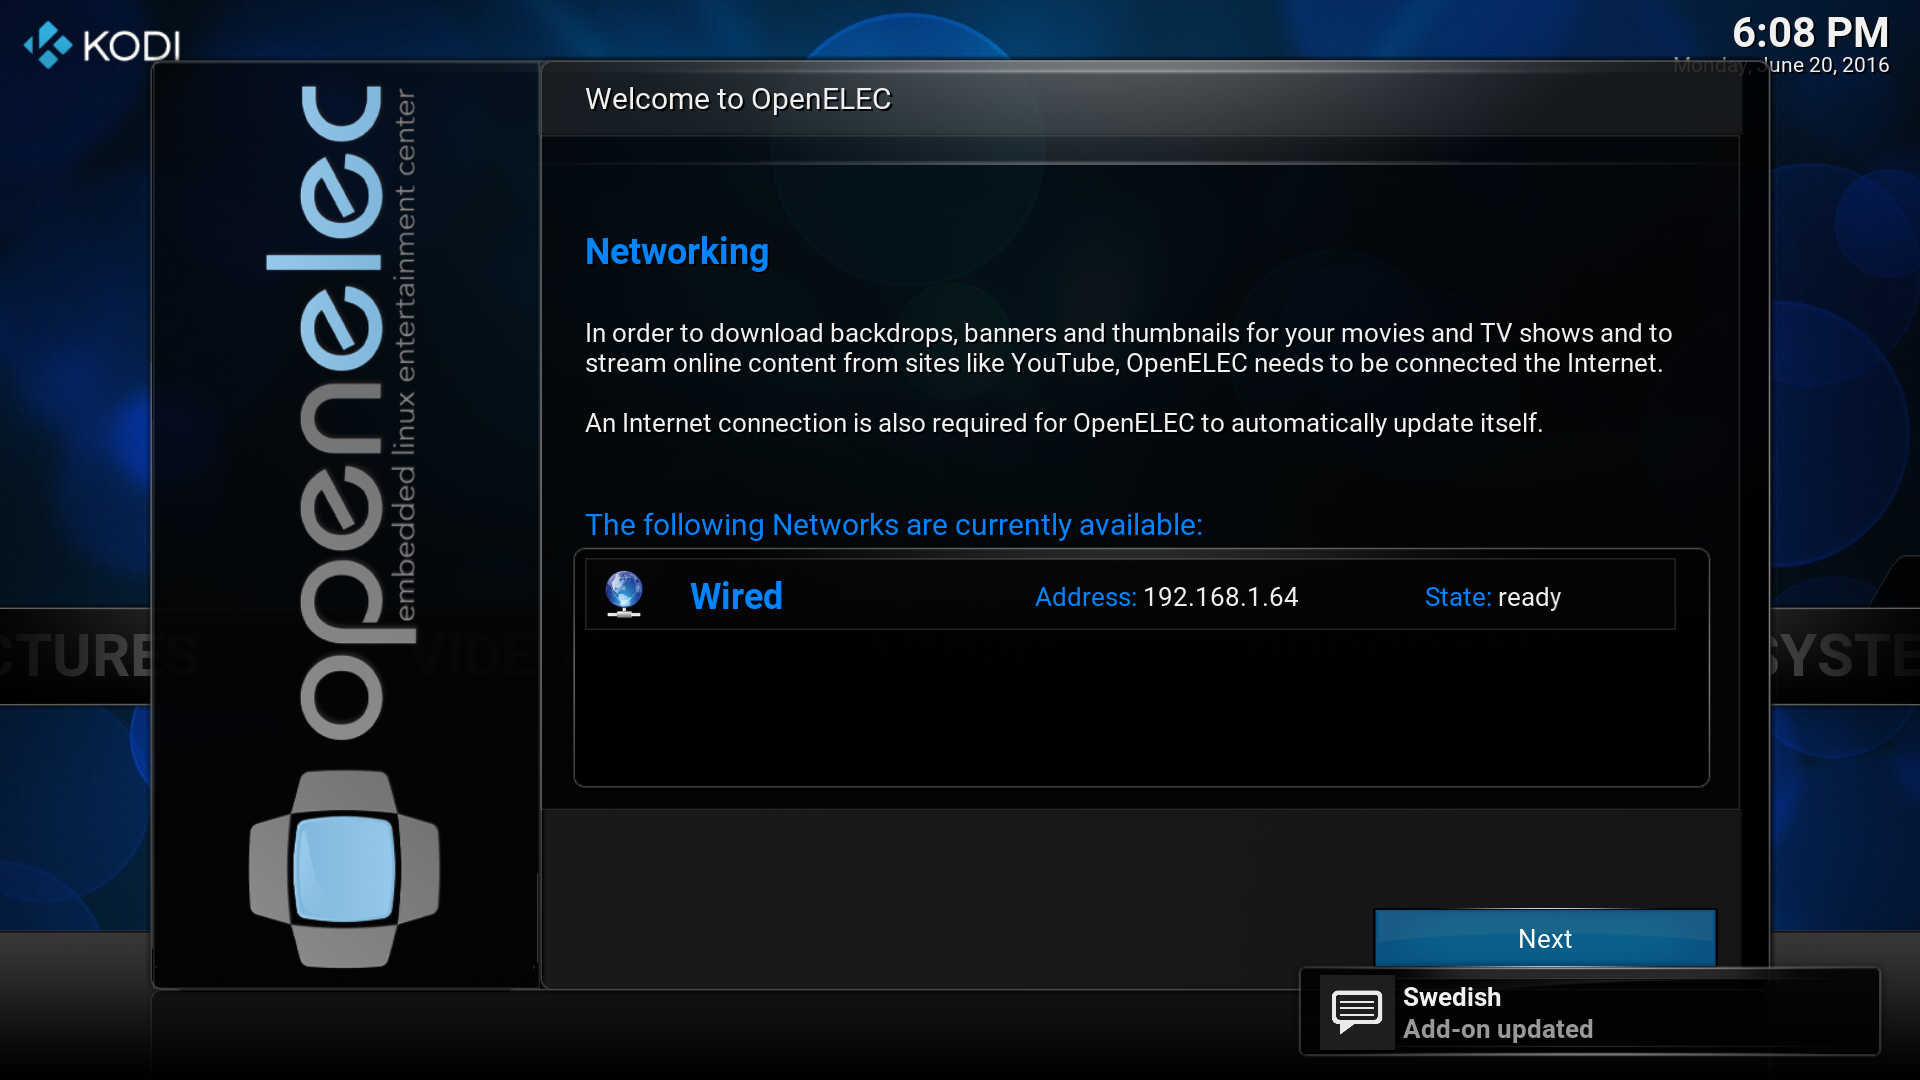
In this article we describe how to proceed to compile the Openelec image for the Orange PI PC card.

From the Orange PI PC forum, in the Openelec section the developers describe the steps to compile the image

Openelec Orange PI PC FAQ

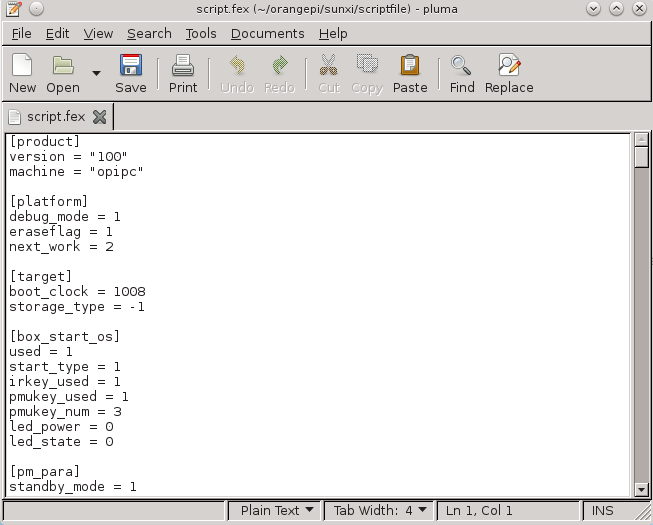
In previous blogs we described how to install debian and how to modify the script.bin file to adapt the hdmi output to our television

Debian installation

Output resolution change

The compilation takes a long time; it is advisable to use multicore processors to speed up the compilation process.

Create a folder, openelec, under orangepi folder and move into it

Install the following packages

With git download the github sources in the local  OPENELEC-OPIPC folder

After the above operation access to OPENELEC-OPIPC folder

Execute the following command

The process check prerequisities and installs additional packages

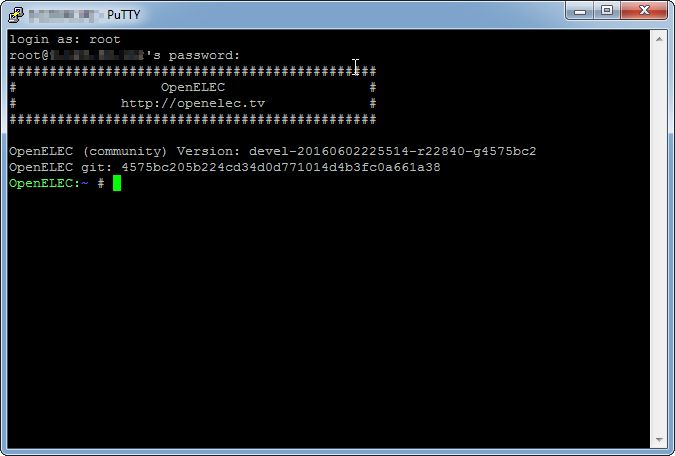
Insert the root password when required; after the prerequisites installation the compilation begins.

At the end of the compilation in the target folder we find the files to install or update Openelec

  1. The file having the .img.gz extension is to upack and tranfer to a micro sd card as described in previous posts.target
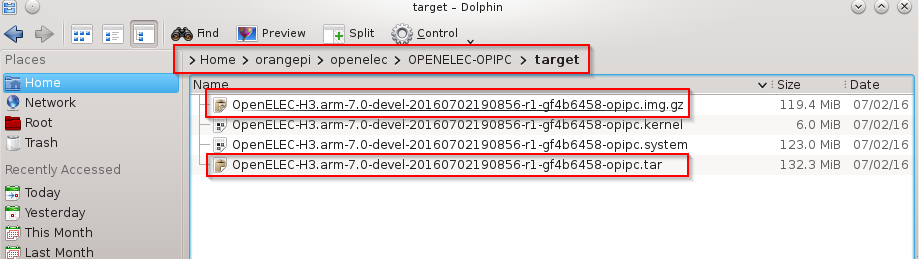
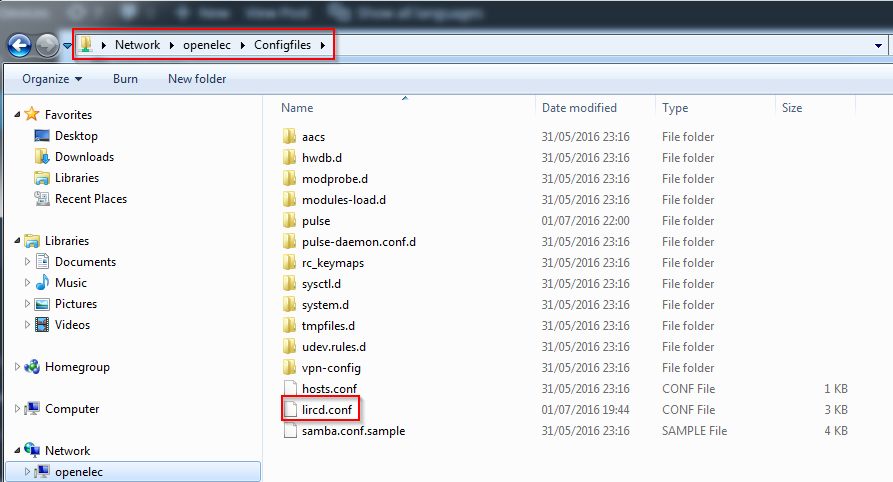
  2. The file with .tar extension is to be copied in the update folder on the Openelec system; this file updates the system when rebooting the Orange PI PC cardupdate

Resolution change of the video output in Openelec on Orange PI PC (Part2)

After the installation and compilation of the sunxi tools we are able to manage the script.bin file

http://www.microdev.it/wp/en/2016/07/29/resolution-change-of-the-video-output-in-openelec-on-orange-pi-pc-part1/

Copy into scriptfile folder our script.bin file.

From th sunxi link it is possible to view the guide about the parameters of the fex file

Fex Guide

Using the tool, compiled in part1 article, let’s convert the file from binary into a text one, executing the following command

Now we can work on the script.fex file. Edit it with a text tool software, for example pluma in Debian

script.fex

In this file we have to find the parameters to modify the video output; here are the parameters to modify

In our test file we found the following settings

According to the fex guide, for the HDMI output (screen_output_type=3) and a setting of 720p60 we have to change the 10 value into 5 in the screen0_output_mode parameter

WARNING: This file contains all the main parameters for the correct operation of the card. Don’t  change anything if you are not sure  waht the change of parameters entails.

After the parameters change convert the text file into a binary format with the following command, generating a .bin file

Move this file into the micro sd card; rename the original script.bin file into script.bin.back and move the  script720p60.bin into script.bin.

In the  Fex Guide we find all the parameters settings according to the various output resolutions.

Inserting the sd card into the Orange PI PC we can test the new output resolution connecting the hdmi to our television and powering on the card.

Resolution change of the video output in Openelec on Orange PI PC (Part1)

In the Orange PI Openelec image the default video output resolution is 1080p60. If our tv works with a different resolution we’ll have no image on the television.

To overcome this problem it is possible to change the resolution and fps  for the video output.

The micro sd has two partitions. We have to work in the vfat partition

schedasd

We have to modify the script.bin file.

contenutoschedasd

In the home partition of the debian user (sviluppo in our case) create a folder orangepi; inside this folder create another folder called  sunxi. Go into sunxi folder

Follow the instructions available from linux-sunxi site in order to modify the script.bin file. As first step install the required tools

Sunxi Tools

We have to install the libusb package, as described below

Install git and pkg-config

Now using git download the tool sources

Go into sunxi.tools folder

Execute the tools compilation

We are now able to modify the Orange PI PC parameters available in the script.bin file.

Create a folder under sunxi, for example scriptfile

Add to th ePATH variable the sunxi tools folders executables

Now in next article we can modify the parameters of video output in the script.bin file

http://www.microdev.it/wp/en/2016/07/29/resolution-change-of-the-video-output-in-openelec-on-orange-pi-pc-part2/

Debian envinronment for embedded systems development

In this article we describe Debian 8.5 installation we’ll use to compile Openelec for Orange Pi PC, Enigma2 images and other operations for embedded devices.

Download  AMD64  Debian 8.5 iso

Debian X86_64

Proceed with the operating system installation on your system. It is recommended  to use a virtual machine like VirtualBox. Use at least  4 GB of ram and 50 GB of hard disk.

VirtualBox

Using VirtualBox it is possible the virtual disk creation with dynamic space allocation. After the operating system installation log on into the system with the user created during the installation; we used the “sviluppo” user id. It is possible to log on to the linux system using the graphical interface or through ssh to the IP address of the Debian system.

Add to sudo group the user created in the Debian installation; open a shell command window and execute

In our case we have the following output

sviluppo user doesn’t belong to sudo group. Execute the command

Enter the root password when required and execute

In our example

Reboot the system

At the reboot log on into Debian and proceed to add the packages repositories, if not already present.  Go to the /etc/apt folder

Backup the original file

Edit the file using for example the vi editor

It is possible to comment out the lines positioning at the beginning of the line, press i to go in editing mode and add the # character. Pressing the ESC key we go into reading mode and it is possible to move in the file using the  arrow keys. In case of errors in editing mode it is possible to avoid the last change using the key ESC+u.

Comment out the  lines

Add the following lines

To add the lines press o keys to go into writing mode with an empty new line; with copy and paste we can add all the lines or proceed manually for each of them.

To save the file and quit press ESC+:wq.

It is possible to use one of the text editors available in Desktop Envinroment on which we logged into to edit and save the file.  For example to use pluma editor open a shell command windows and execute

From pluma open the file /etc/apt/sources.list, make the changes described above and save the file.

Update the repository lists  and the packages

Install the development packages

Install an ftp server to use for files transfer

After the installation open the file  /etc/vsftpd.conf and uncomment the following parameter

Open the file with vi or pluma as superuser

With vi editor search the string with the command

Delete the # character positioning the cursor on it and pressing the x key.

Save and quit with ESC+:wq.

Restart the ftp server using the command

We have now the envinronment to compile, modify, develop  our embedded systems.

Enigma2 set-top-boxes

In this article we describe briefly a hardware category using embedded linux in satellite/terrestrial/cable set-top-boxes with the Enigma2 framework.

Enigma2 system is based on Openembedde/Yocto

Openembedded

Wiki Openembedded

and is developed in python; in tv set-top-boxes is present a linux system with its system drivers. This framework was developed and installed in its hardware by Dream Multimedia TV

Dream Multimedia

Dreambox wiki

Dream Multimedia TV distributed source code allowing the creation of alternative system images by  various development teams.

Counterfeits of Dream Multimedia set-to-boxes appeared in the market, so they restricted the license and source code distribution, trying to prevent their set-top-boxes cloning.

Other set-top-boxes manufactures developed their version of the open source Enigma2 framework; various developed teams gathered in the OE-Alliance group to develop the common parts of the system, as drivers, a common github, etc, letting to each team their custom personalization. Here is a list of OE-Alliace group development teams and other important teams

OE-Alliance Group

This is the common github link

OE-Alliance github

Using Enigma2 framework it is possible to add other functionalities developing addons, strengthening clearly the set-top-box.  HD set-top-boxes use almost exclusively MIPS Broadcom Socs, but with the UHD era manufacturers are beginning to use ARM Broadcom Socs.

Here are some set-top-boxes manufactures that use Enigma2 in their products

Gigablue

Xtrend

Vuplus

In other blogs we’ll decrive how to setup the envinroment and generate an Enigma2 image from source code based on OE-Alliance github or other important team.

SD card setup for Orange PI PC Armbian in Linux

As already described in the previous article

Openelec SD card setup

also for the Armbian distribution we have to prepare an sd micro card.It is advisable to use a micro SD class 10 to gain better performances. As first step  we proceed to the Armbian  image download from Armbian web site

Download Armbian Orange PI PC

We choose for example the Debian Jessie Desktop Image.

We install 7zip package. In Debian we can use the following command

After the file  download  wint 7z extension in a directory, we open a shell command window in this directory and  unzip the content

We have among other files the one with .raw extension. Then we plug the micro sd card and check this device

In our case we have the following output

We check if this device is umounted

In the case we have the device in the output response, as in our case

we proceed to the unmount

WARNING: Be sure that the device is the micro sd card and not the internal disk. The next operation imply the complete rewriting of the device with the loss of all data on it.

We can now write the image into the micro sd card, using the correct device, that in our case is /dev/sdb

WARNING: This operation wipes all data on the micro sd card.

After a while we have the micro sd card ready to be used in the Orange PI PC board.

SD card setup for Orange PI PC Armbian in OSX

As already described in the previous article

Openelec SD card setup

also for the Armbian distribution we have to prepare an sd micro card. It is advisable to use a micro SD class 10 to gain better performances. As first step  we proceed to the Armbian  image download from Armbian web site

Download Armbian Orange PI PC

We choose for example the Debian Jessie Desktop Image. We expand the content using a compression software, as Keka

Keka

obtaining one file having .raw extension

armbianOSX

Then we plug the micro sd card and find this device

In our case we have the following output

We proceed to the device unmout; in our case the command is

WARNING: Be sure that the device is the micro sd card and not the internal disk. The next operation imply the complete rewriting of the device with the loss of all data on it.

We can now write the image into the micro sd card, using the correct device, that in our case is /dev/disk2

WARNING: This operation wipes all data on the micro sd card.

After a while we have the micro sd card ready to be used in the Orange PI PC board.

SD card setup for Orange PI PC Armbian in Windows

As already described in the previous article

Orange PI PC Openelec SD card setup

for the Armbian distribution we have to prepare an sd micro card.It is advisable to use a micro SD class 10 to gain better performances. As first step  we proceed to the Armbian  image download from Armbian web site

Download Armbian Orange PI PC

We choose for example the Debian Jessie Desktop Image

armbianWe expand the content using a compression software, as 7-zip, obtaining one file having .raw extension.

armbian_estensione

In windows operating system we can trasfer this image to the micro sd card by using a specific sotware. We used Win32 Disk Imager, available from the following link

Win32 Disk Imager

After the Win32 Disk Imager installazion we are able to write the micro sd card, i.e E disk in our case. We choose as input the image expanded in the step above

Win32 Disk ImagerEng

Press Write to transfer the image on the sd card.

WARNING: This operation wipes all data on the micro sd card.

After a while we have the micro sd card ready to be used in the Orange PI PC board.

Remote control configuration for Openelec in Orange PI PC

In this page we describe how to setup a remote control to control Kodi on our Openelec distribution on Orange PI PC board. We connect an USB keyboard,  an ethernet cable  and an HDMI cable to the Orange PI PC to manage the system, connect to the network and connect to the TV respectively.

First we have to check the IP Address assigned to Openelec by the network router; we access in System->System Info

screenshot009

In Summary  we can read the Ip address (eg:192.168.1.125)

screenshot010

Now we are able to logon in ssh in Openelec. In Windows systems we have to download and execute putty, available at the following address

Putty

In  Linux ed Osx systems we use a shell command and execute (where IP_OPENELEC is eg.:192.168.1.125)

The logon password is:openelec

In windows we configure Putty using the Orange Pi PC IP address obtained above, check SSH; after saving with a name to this connection we connect with the Open button

PuTTY Configuration

To connect into the Openelec system we have to use the following values:

Login as: root

password:openelec

Now we are able to setup our remote control

shell

Execute the following commands

Follow the instrucions on the screen. In particular push all the buttons; in the second part of the configuration we have to map the remote controlo buttons with the operating system codes (eg: KEY_OK, KEY_PLAY, KEY_RED, etc). We have the main codes in the file

In the remote.xml file

we have the mapping among Kodi actions and the operating system events .

The command

shows all the events available in our system.

At the end of the procedure we reboot the system with the command

Now we can control Openelec with our remote control.

Here is the lircd.conf generated by the procedure described above

 lircd.conf

If you need to relaunch the procedure, remove the lircd.conf file and execute again the above commands.

You are able to access the configuration directory using also the windows samba protocol

Configfiles

First start of Openelec on Orange PI PC

After the micro sd setup, we insert it into the Orange PI PC slot; we connect the board to the TV using an HDMI cable,  then we connect to the board an USB keyboard, an USB mouse, an ethernet cable linked to a router and turn on the device.

At the startup Openelec extends the micro sd available space and at the next start  we have

PrimoAvvioOE1

Choose Next to proceed to the next screen in which eventually modify the hostname

PrimoAvvioOE2

With Next we are able now to view the IP address assigned to the board

PrimoAvvioOE3

At the next screen the system presents the available network services

PrimoAvvioOE4

Enable the SSH service

PrimoAvvioOE5

At the next step we have the final screen

PrimoAvvioOE6

And finally we access the Openelec interface

PrimoAvvioOE7

Blog about embedded devices