This article describes how to enable the Orange PI PC board to work as 3d printers network server.
A software that provides this functionality is OctoPrint
OctoPrint
From the OctoPrint site we can download an image for Raspberry PI with the system already ready; in the case of the Orange PI PC we have to install and configure OctoPrint on a Linux image.
You can also use a Linux image available for Orange PI PC and run the steps related to OctoPrint package installation, but you have to check the prerequisites for Octoprint python package installation.
We instead built for this article an image using the Armban scripts.
As a first step, prepare the micro sd card with an Armbian image. In the specific case, we’ll use a Debian Jessie image created using the Armbian script, as indicated on the link
Armbian building
and described also in a previous article
Building Armbian image for Orange PI PC
We followed these steps to build the Armbian image on Ubuntu Xenial 16.04; from a Linux command shell
|
|
git clone https://github.com/armbian/build cd build ./compile.sh |
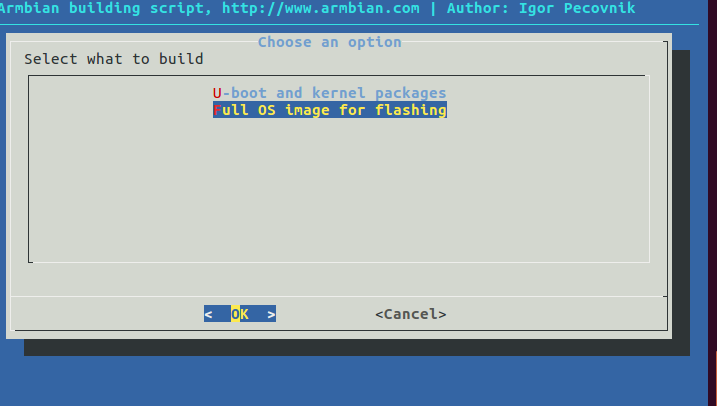
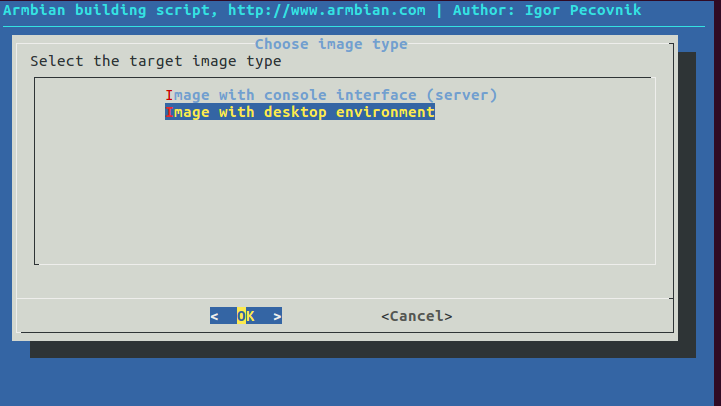
In the building options choose
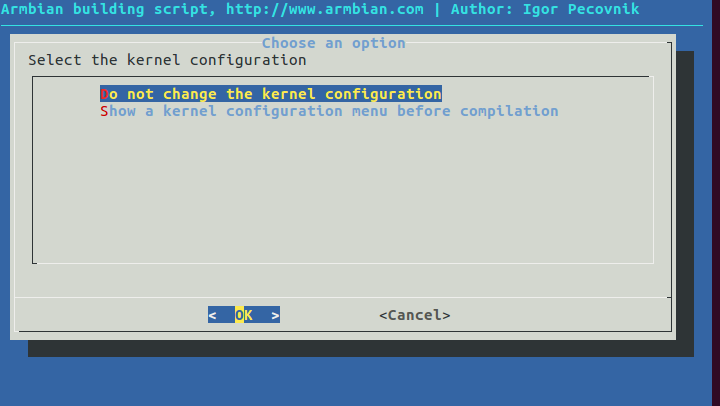
 We selected the default kernel configuration
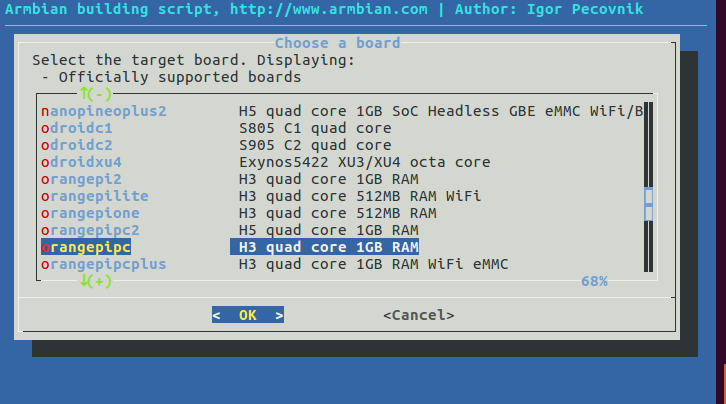
 Choose an Orange PI PC board
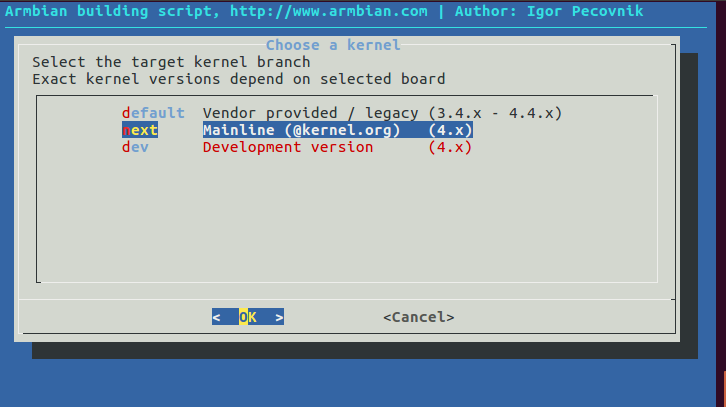
 We used the mainline kernel
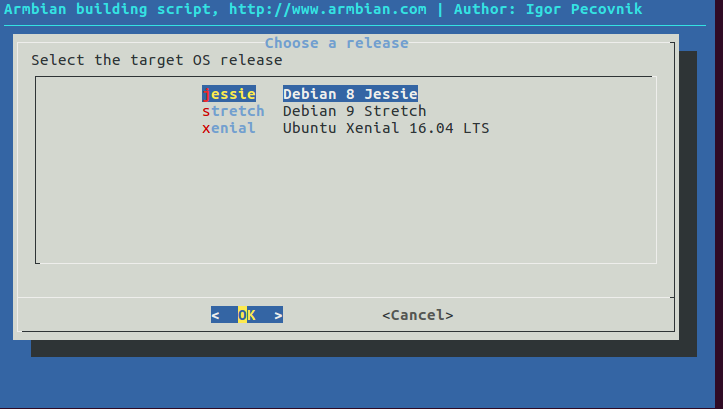
 and Debian Jessie as distribution
 We built an image with desktop envinronment
 After this option, the script proceeds to the compilation. The generated image is Armbian_5.34_Orangepipc_Debian_jessie_next_4.13.12_desktop.img. This image can be downloaded from the link
Armbian image for Orange Pi PC
Start Armbian and create the user for the Jessie image; in this case we choose octoprint/password as user.
If necessary, reconfigure the keyboard with the command
|
|
sudo dpg-reconfigure keyboard-configuration |
and proceed to upgrade the system
|
|
sudo apt-get update sudo apt-get upgrade |
If the system needs to be configured via a wireless connection, the connection must be active at startup. For this purpose in our case we used the Wicd daemon
Wicd Debian
Remove the network-manager package
|
|
sudo apt-get remove network-manager |
This command uninstalls network-manager and network-manager-gnome.
Check that the wireless interface is not present in
/etc/network/interfaces
|
|
cat /etc/network/interfaces |
Proceed to Wicd installation
|
|
sudo apt-get install wicd |
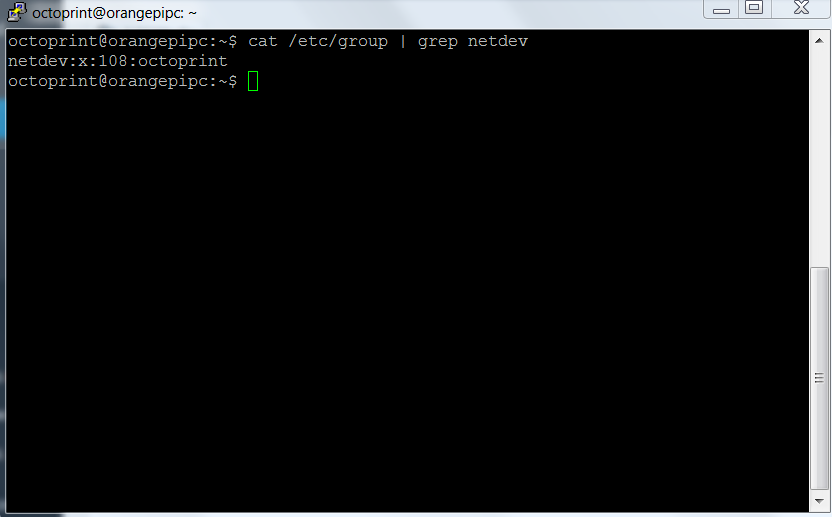
Check that the octoprint user is present in the netdev group
|
|
cat /etc/group | grep netdev |
In our case it is already present, giving as a result
If not present, add it with the command
|
|
sudo adduser octoprint netdev sudo /etc/init.d/dbus reload |
Start wicd
|
|
sudo systemctl start wicd |
Logon to the armbian graphic desktop and start the wireless configuration with the command
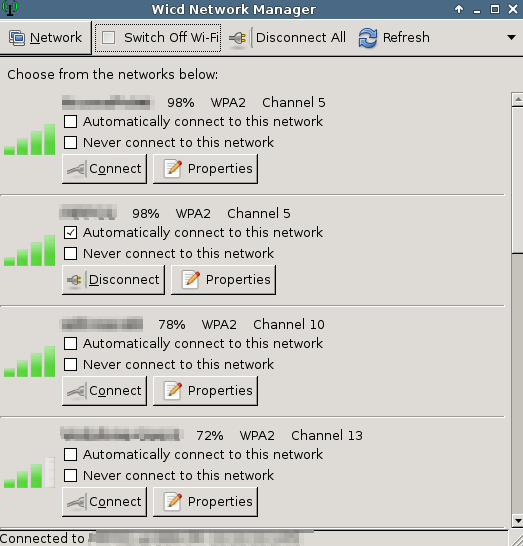
Configure and save the network connection from the graphical interface.
If you want the remote desktop follow the steps listed in the article
Remote desktop setup for Armbian on Orange PI PC
We can now install Octoprint. Follow the steps available at the link
OctoPrint installation on Linux
Install the prerequisites
|
|
sudo apt-get update sudo apt-get install python-pip python-dev python-setuptools virtualenv python-virtualenv git libyaml-dev build-essential |
Create under /opt the octoprint folder and assign the ownership to octoprint
|
|
sudo mkdir /opt/octoprint sudo chown octoprint:octoprint -R /opt/octoprint |
In a Linux shell command go to /opt/octoprint folder and download the software
|
|
cd /opt/octoprint git clone https://github.com/foosel/OctoPrint.git |
Run
|
|
cd OctoPrint virtualenv venv ./venv/bin/pip install pip --upgrade ./venv/bin/python setup.py install |
Create the .octoprint folder
Add octoprint to the following groups to manage the 3d printer using the USB port
|
|
sudo usermod -a -G tty octoprint sudo usermod -a -G dialout octoprint |
Check the correct installation by running the command
|
|
/opt/octoprint/OctoPrint/venv/bin/octoprint |
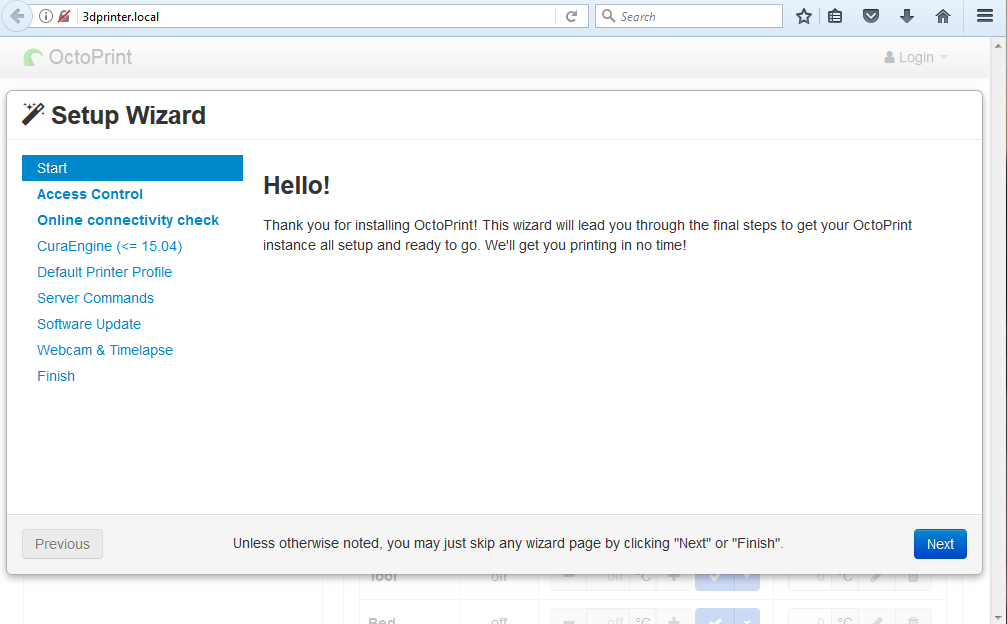
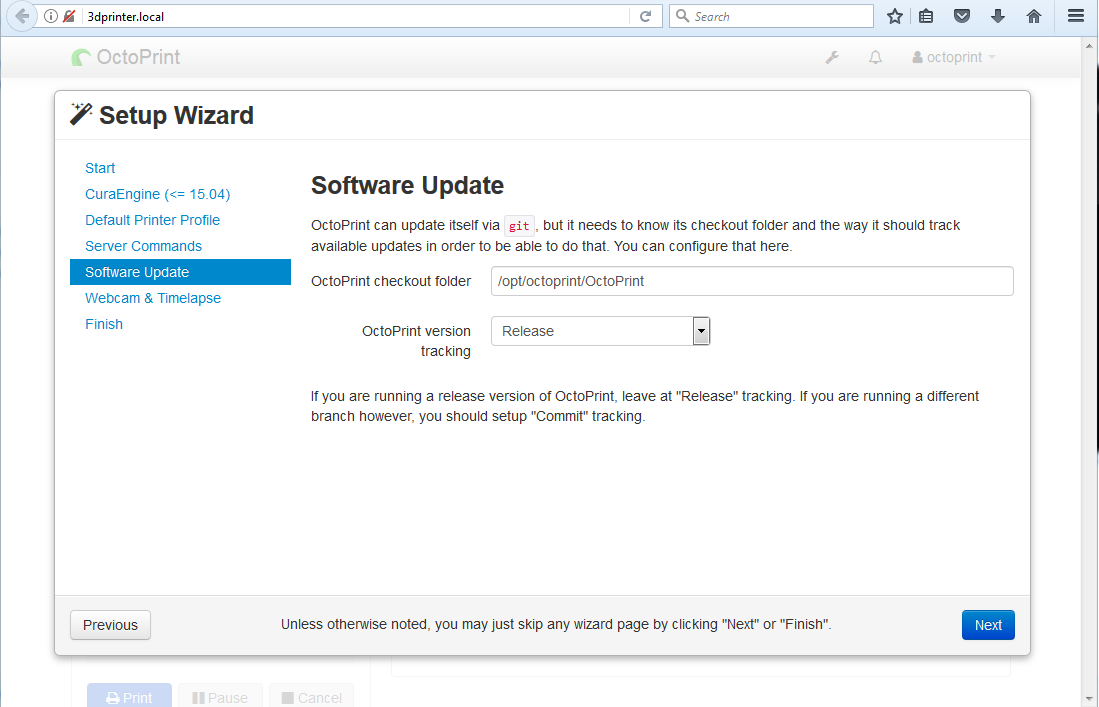
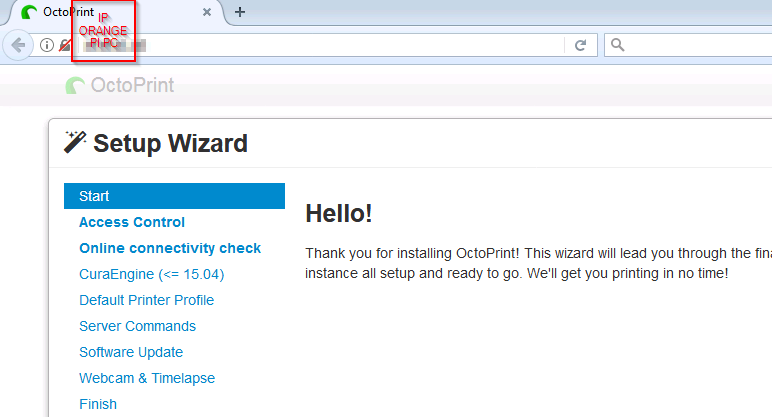
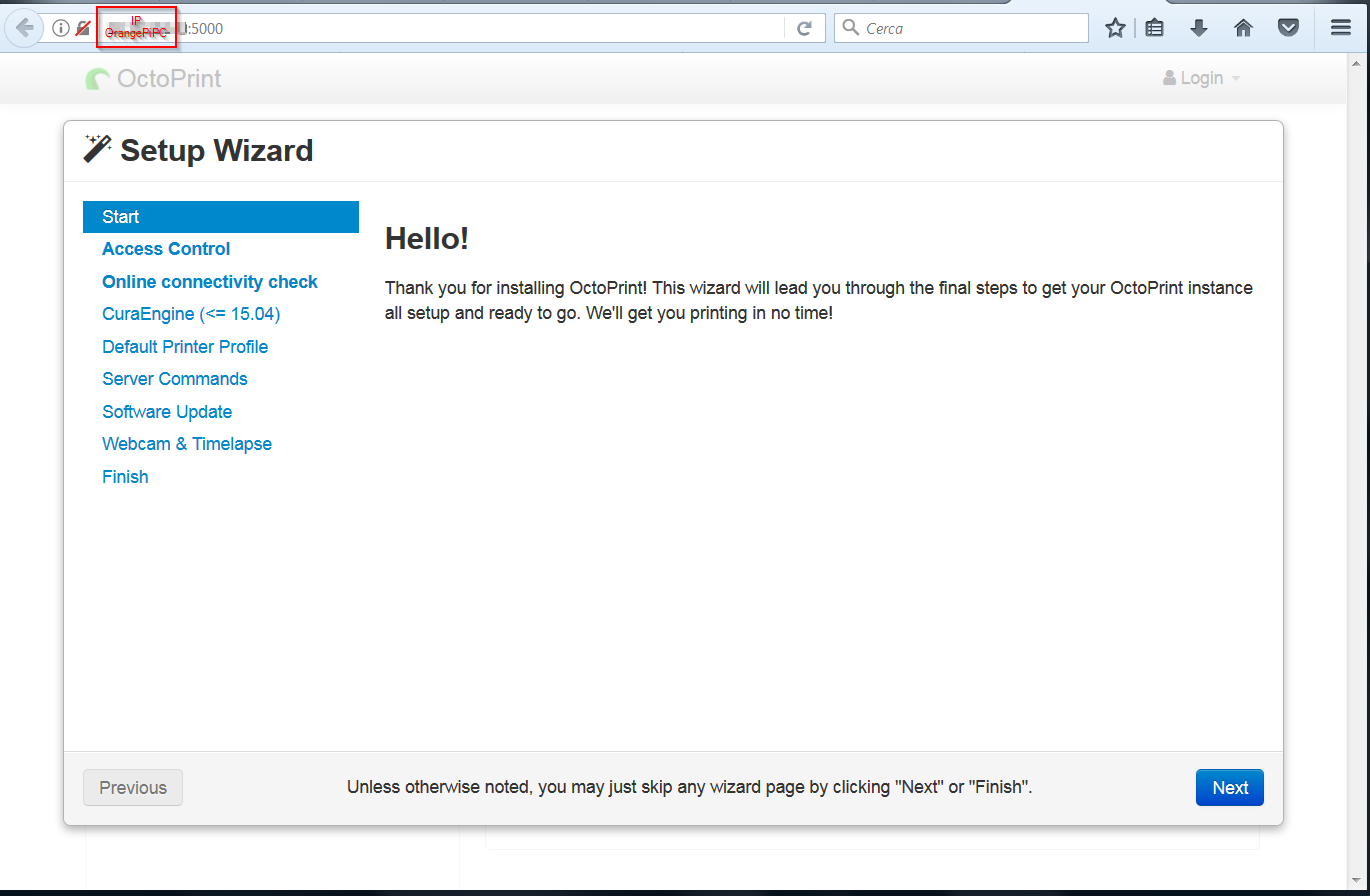
The OctoPrint server can be reached on port 5000 at the IP address of Orange PI PC
http://ipaddress:5000
Install the Cura Engine at this point; place yourself in the octoprint user’s home and download the source package
|
|
cd wget https://github.com/Ultimaker/CuraEngine/archive/15.04.6.tar.gz |
Go into the unpacked folder
Run the compilation with the command
The compiled software is located under the build folder
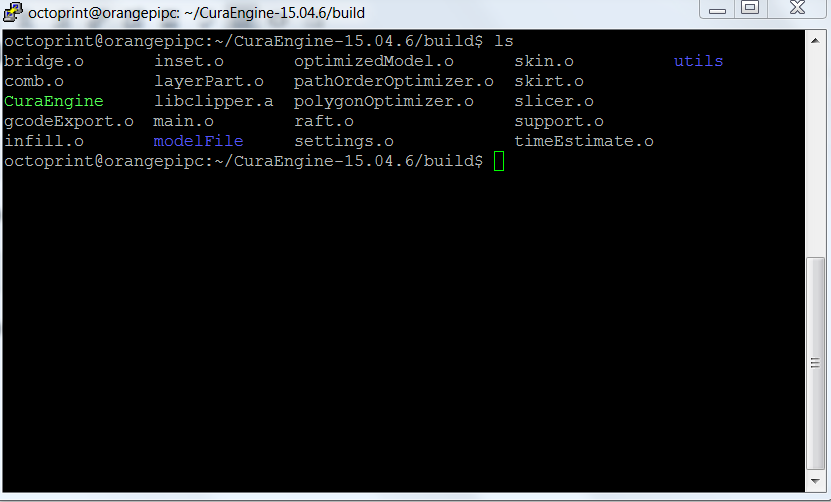 Create the /opt /octoprint/cura folder and copy the CuraEngine file to this folder
|
|
mkdir /opt/octoprint/cura cd ~/CuraEngine-15.04.6/build cp CuraEngine /opt/octoprint/cura/ |
The executable is now in the /opt/octoprint/cura folder and will be used later by OctoPrint.
In the next article we’ll treat how to configure OctoPrint’s automatic startup
OctoPrint Autostart


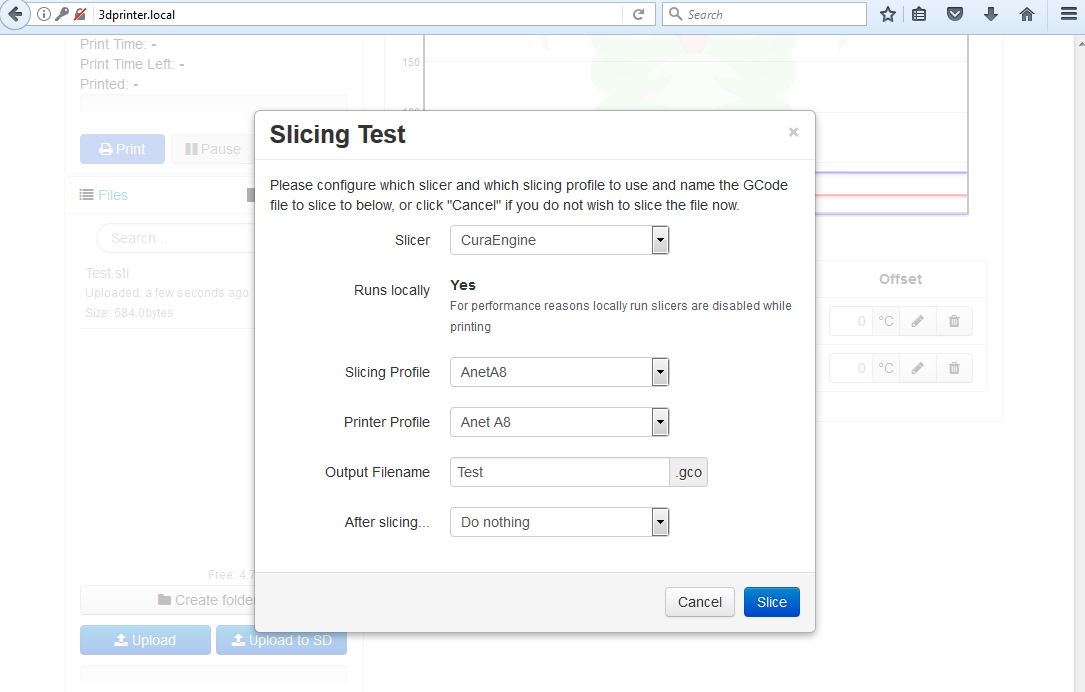 At this point the file is ready for printing
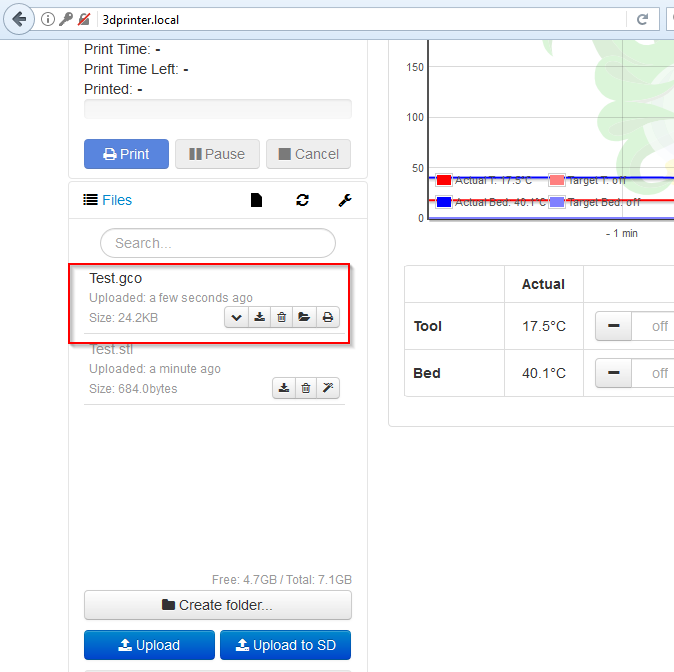 Once the printing is started, the progress and temperature can be checked
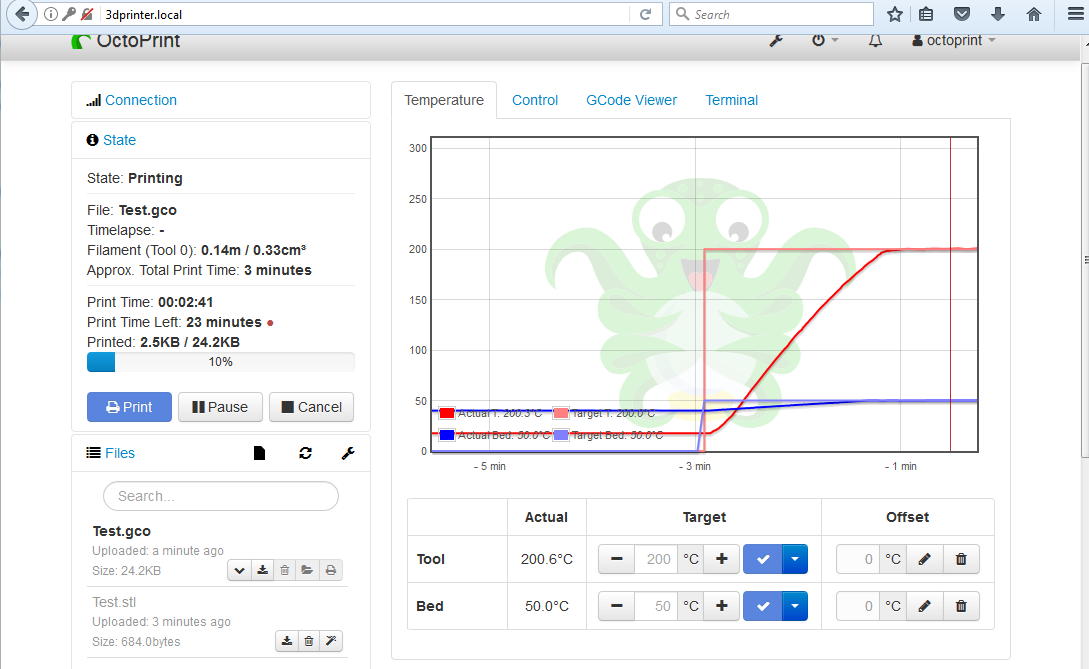 as the layers that are being created
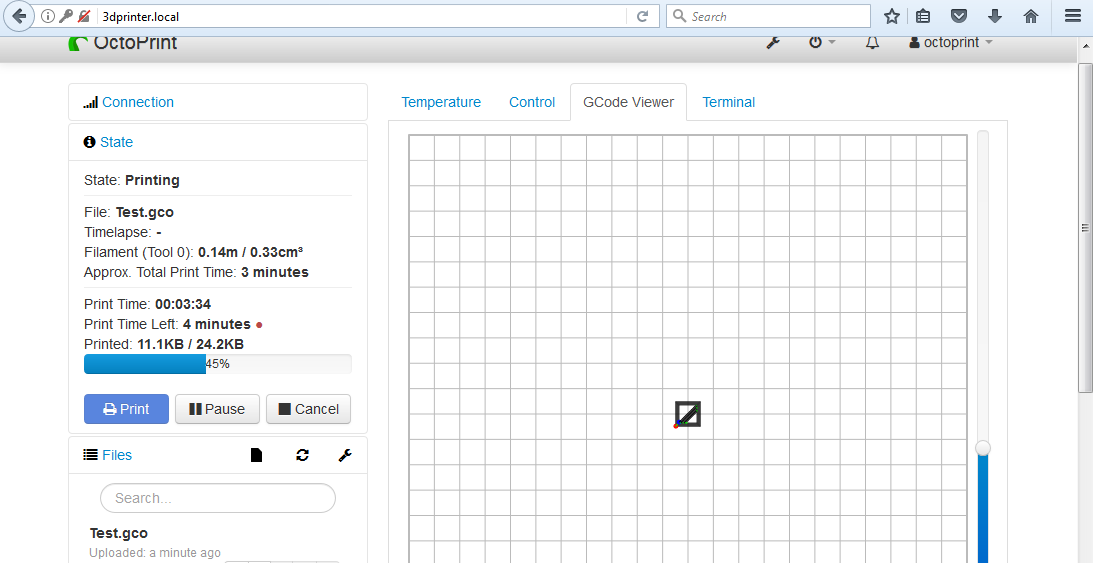 In this example, the basic settings were used to start the system for the first time.